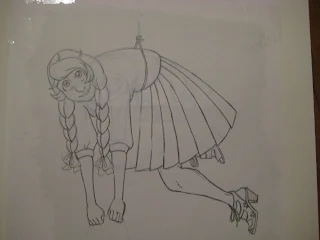
Graphite Transfer Tutorial
When I'm preparing for a graphite transfer, I always print my image as large as I'm going to want it on cartridge paper in blueline. Printing bluelines makes it easier to see where my pencil's already been, so I don't miss spots or waste time going over an area I've already transferred.
Holding the paper up to the light so the printed side is visable, I sketch in the area I want to fill with graphite.
Begin filling it in. Usually I like to use a graphite stick, but mine was MIA, so I went with a 6B pencil. You want to use a really soft lead for graphite transfer.
Tape your graphite transfer page to the paper you want to transfer to.
Pencil in your bluelines, making sure to press hard so that the graphite transfers.
The transfer is pretty faint, but its there.
Finished inks on the vellum Bristol.
NOTE: I was going to use this for a watercolor tutorial, but Bristol Vellum is the worst surface I've ever painted on, so I've had to scrap the project.


Comments
Post a Comment