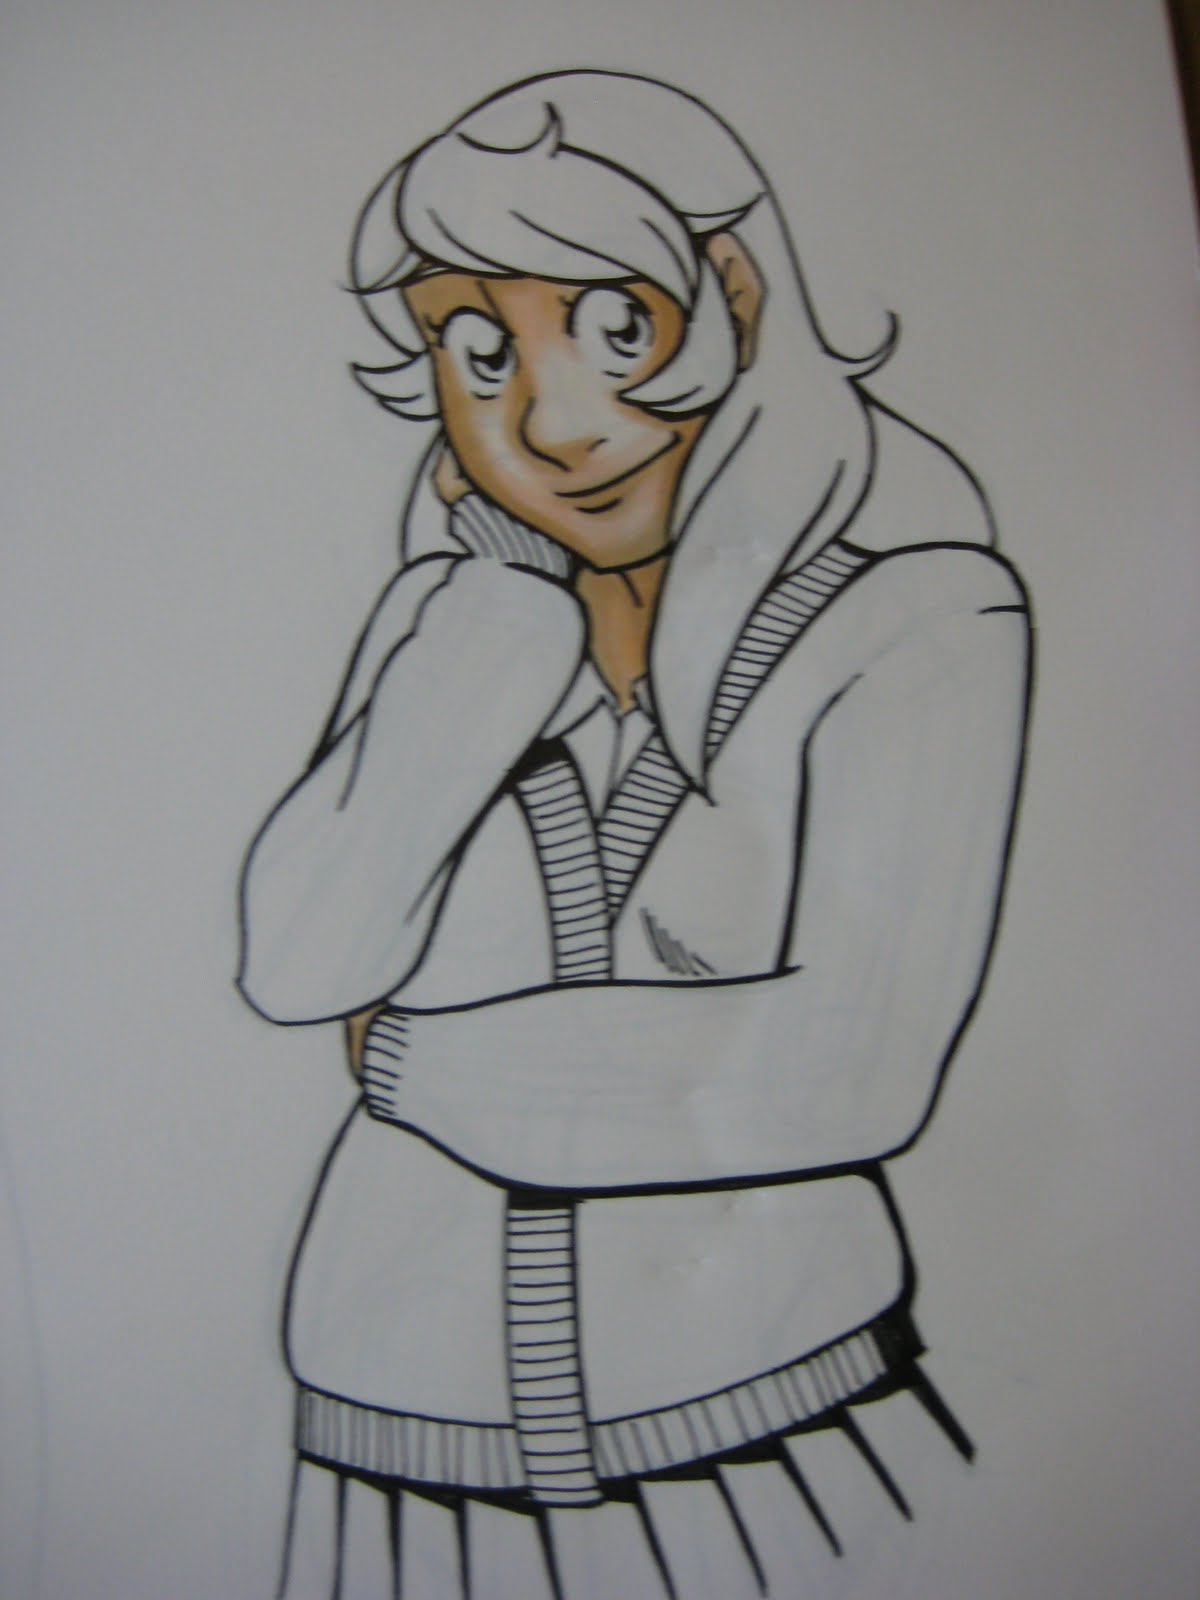
I'm starting off this marker process with a lineart I finished earlier in the day.
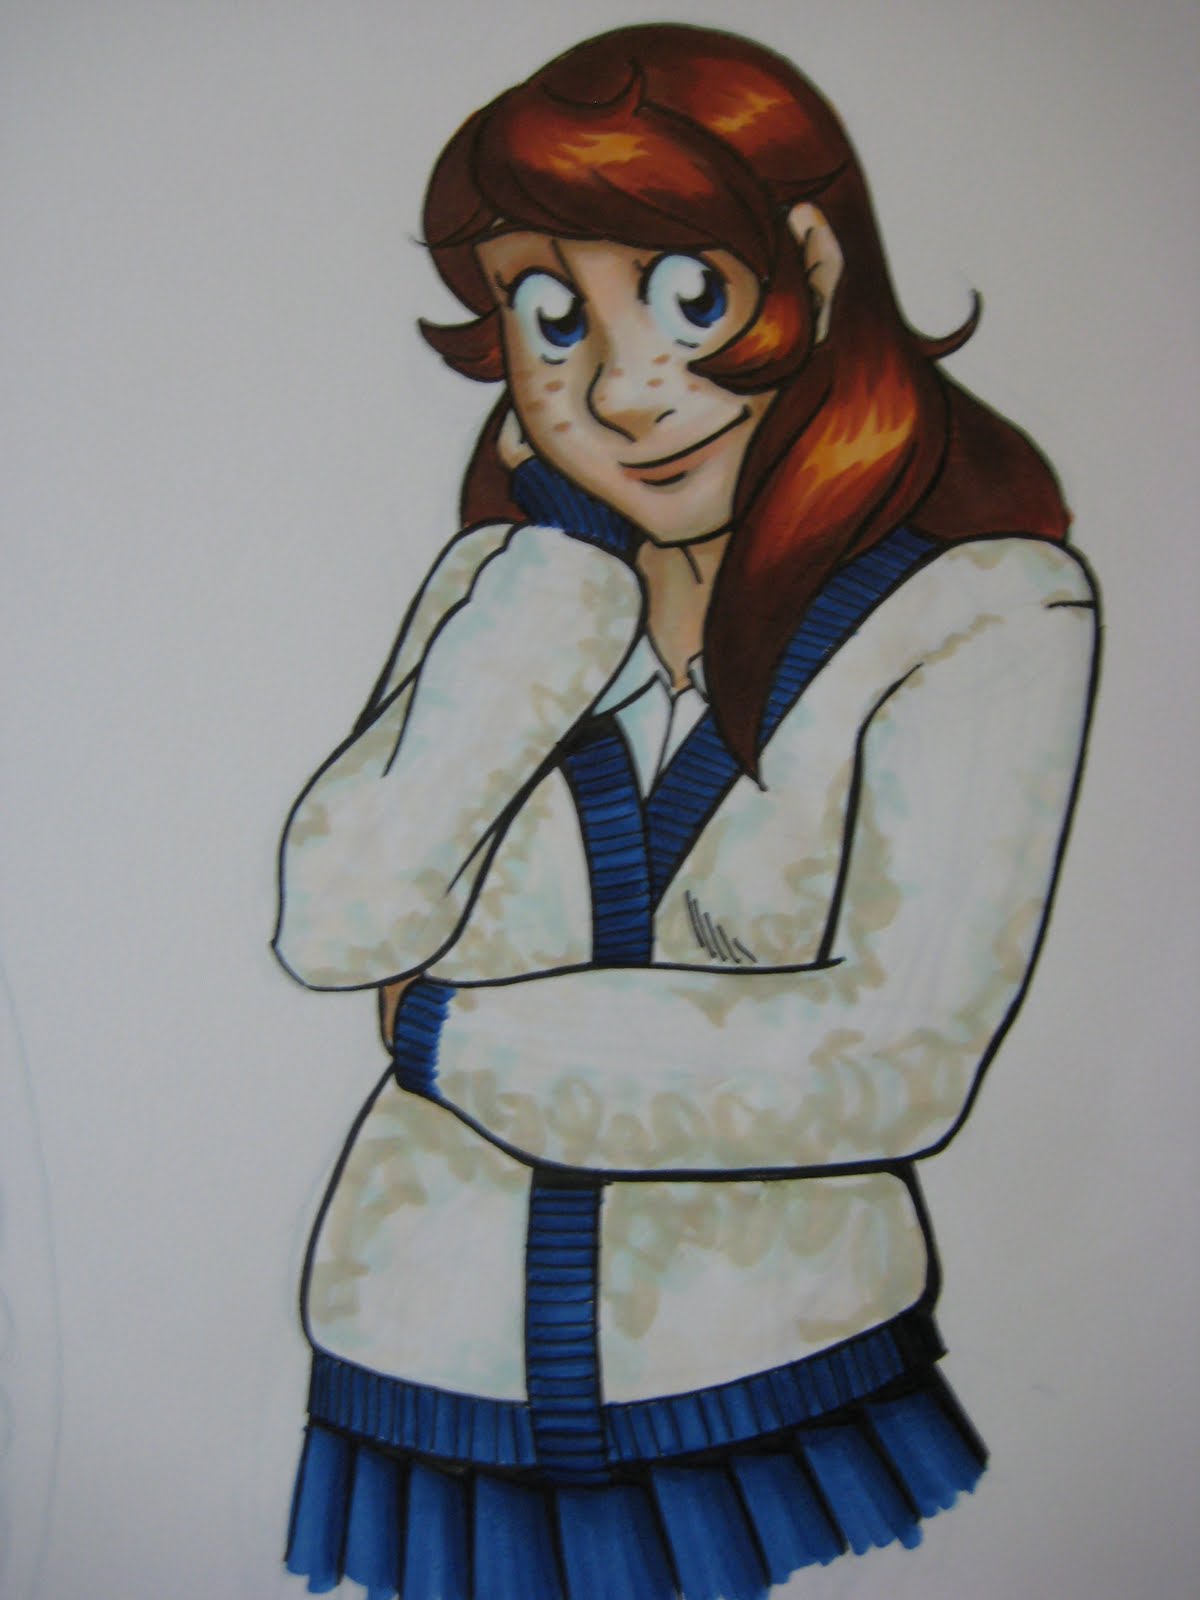
I begin with the very lightest skintone.
And slowly build up layers.
Adding pinkish tones above the eyes and on the lips.
With her hair, I again begin with the lightest layer first and build up from there, applying an even coat.
I utilize the brush end of the Copic Sketch so I can get really nice strokes on the hair.
And build up with darker browns. Remi has reddish brown hair, so I use a lot of warm browns in her hair. If I were to color my own hair (it's so dark brown it's nearly black), I would go for cooler browns.
Putting in some darker blue for the eyes.
I'm using the same blue for skirt and sweater as I did for her eyes.
With the skirt, I try to keep the strokes straight down, to emphasis the flow of the skirt.
And I add in shadows, but with the same blue I originally used, as well as the darker blue that was used in the eyes. Markers are translucent, so you can layer them to get darker tones.
I put in her freckles using a Dark Suntan copic and start doing a squiggly pattern on her sweater.
For shadows, I actually like to use cool blues and very light greens, as opposed to using violets.
And last but not least, some tacky feathering that'll probably get cut out before this image becomes my new blog banner!
A decent scan of this will come later in the week.
If you're curious about what markers I'm using or would like more detail, please comment. I can do another, more indepth marker process.


Comments
Post a Comment