Kara Marker Render and Process
 |
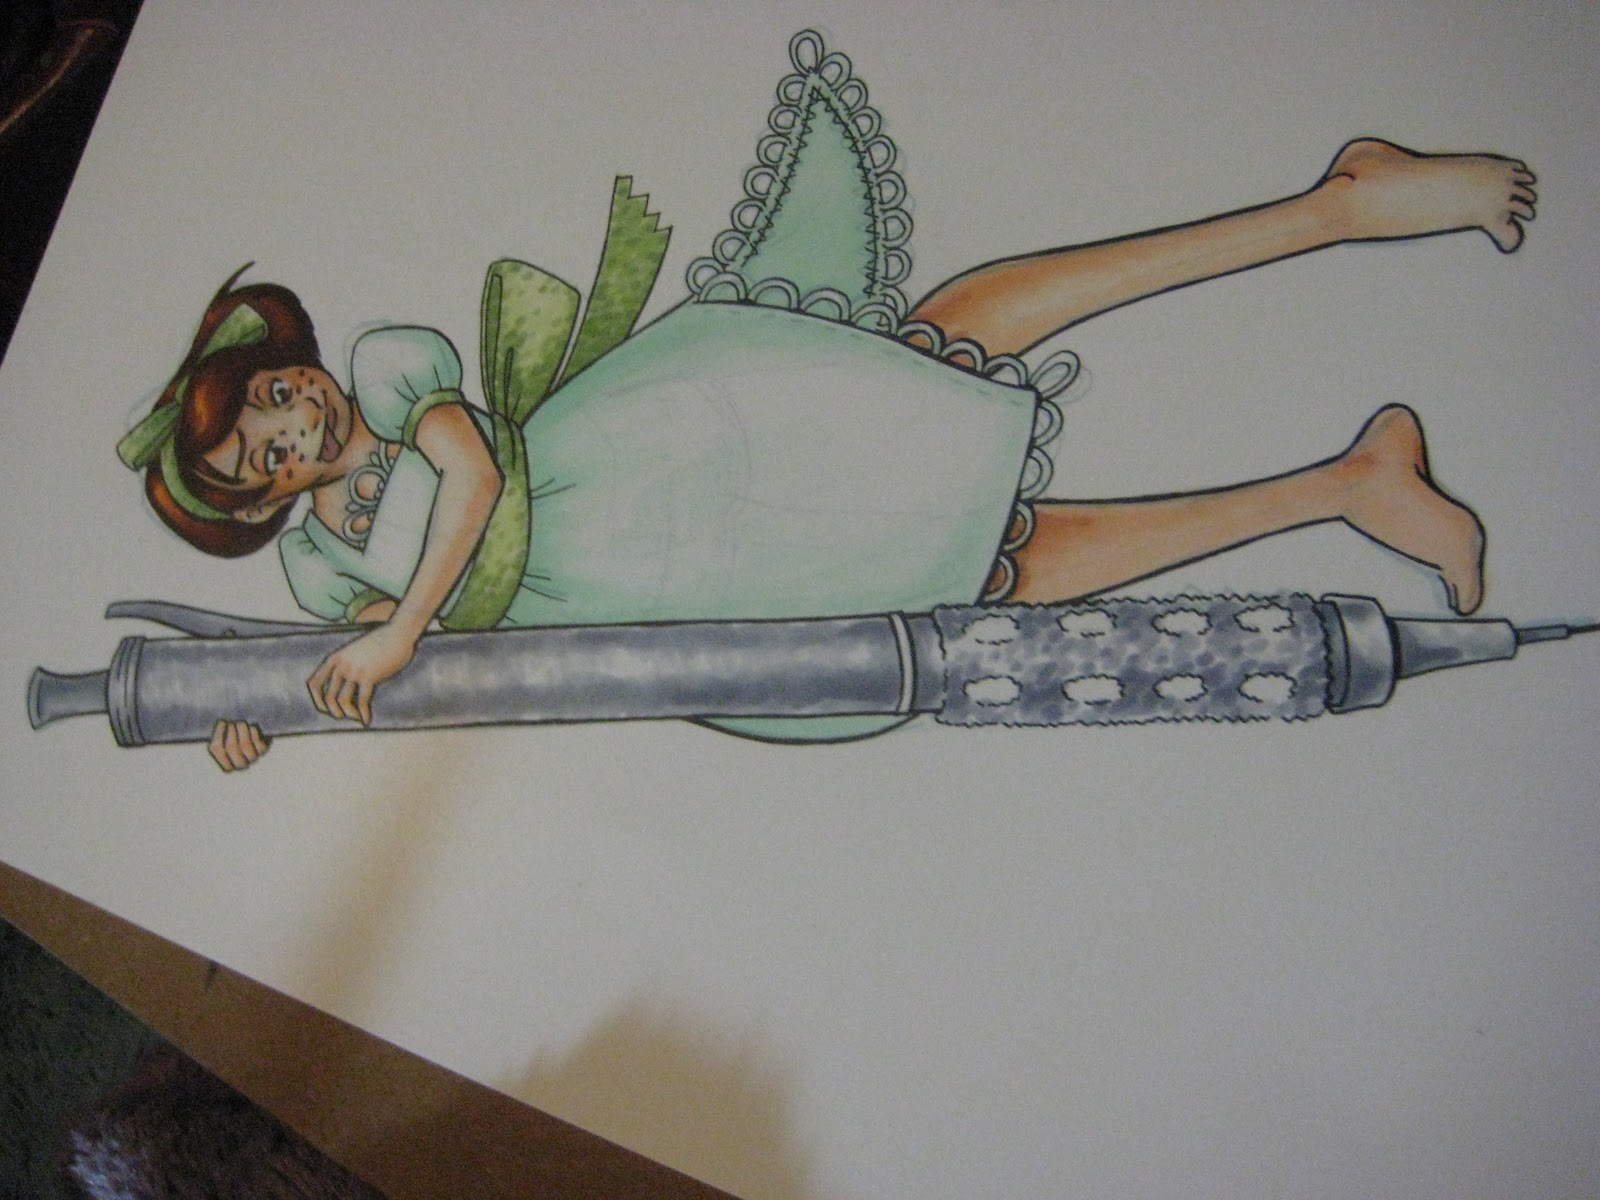
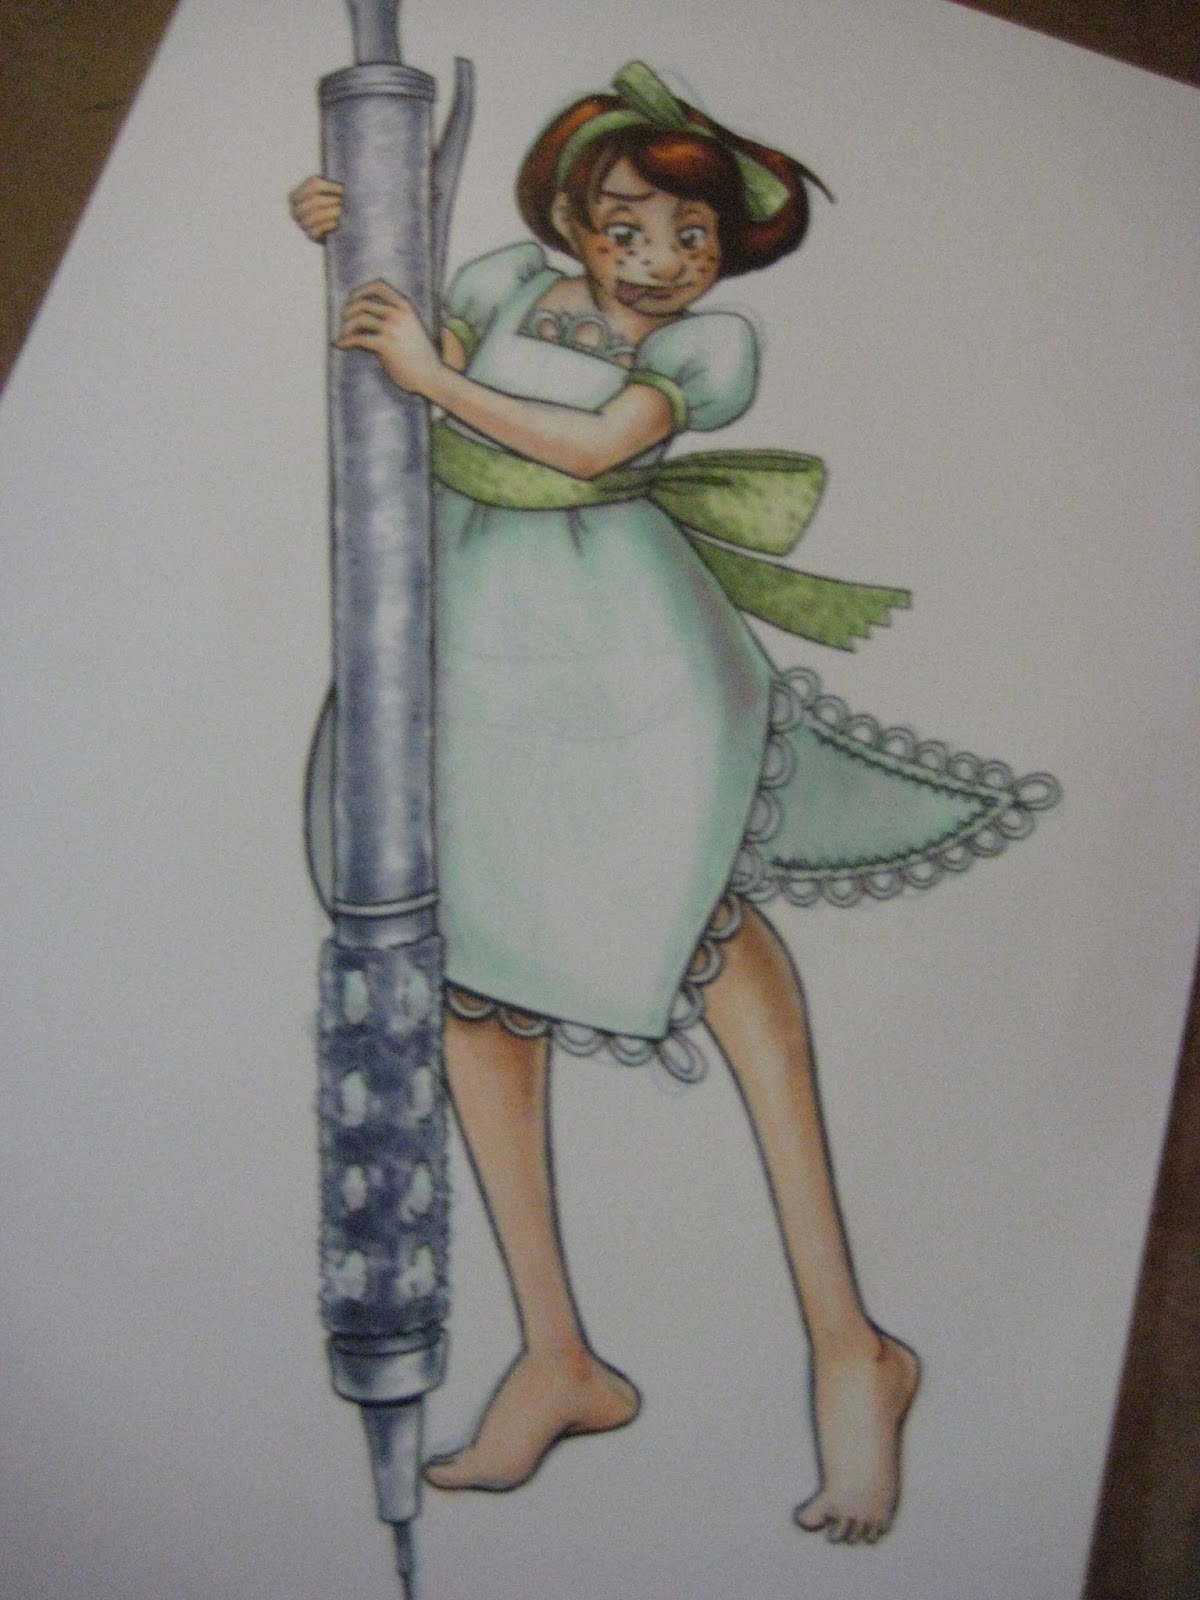
| Rendered with Copic Sketch markers on Strathmore Plate Bristol. Inked with Copic Multiliners (since they're Copic safe). Before rendering, I always let my inks dry an entire day, to ensure fastness. |

 |
| Before making a marker mark on my plate paper, I always swatch several possible colors on sketchbook paper. |
 |
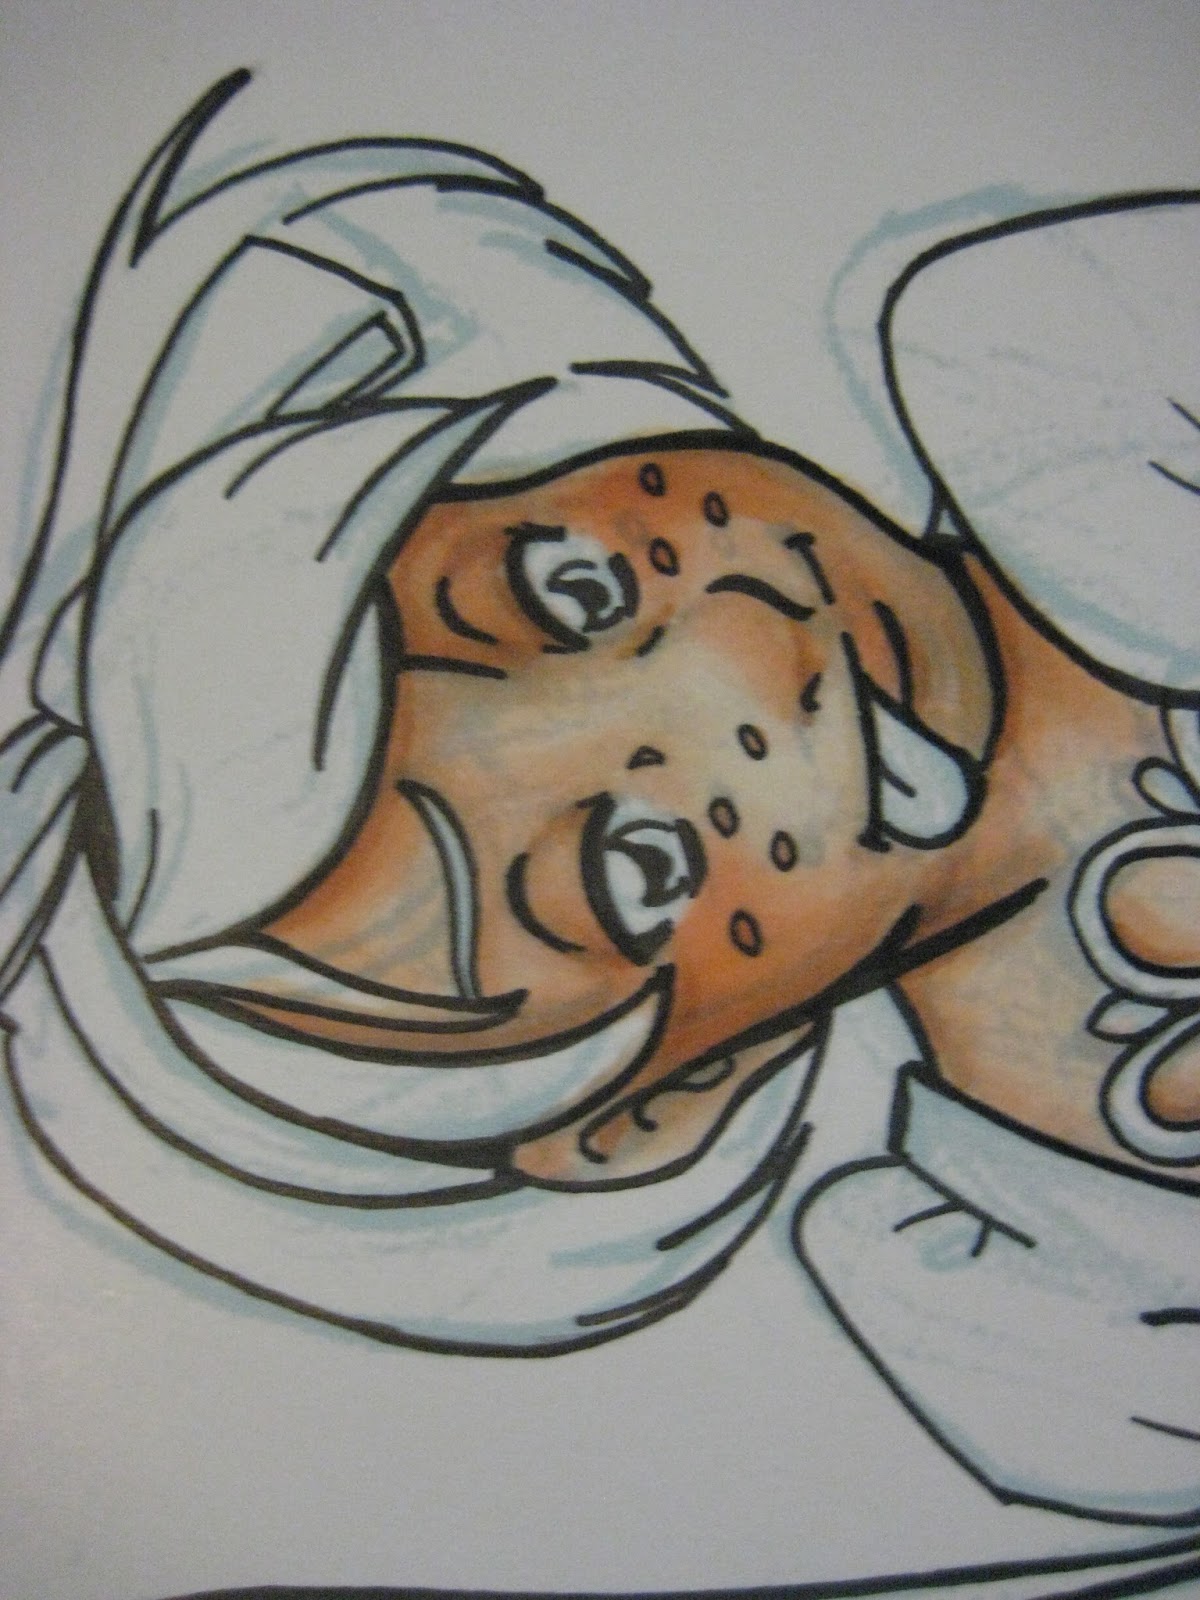
| For me, skin is the most important thing to render realistically, so I often use the most colors. I tend to stay in the E's for actual skintone, but for blush I'll use YR's and R's. I blend my skin using the lightest R possible, its superior to using a colorless blender and gives the skin a healthy pinkish hue. |


 |
| When applying shading, I go for compliments. Skin gets a light BV (blue violet), the dress got an RV (red violet). |


Useful information. Thanks for the progressive images. I admit, I'm not good at choosing compliments or see which colors go well together. I choose ones I like. XD I like the different textures you did for her dress. :)
ReplyDeleteI could study the basics of color theory a thousand times and it still wouldn't click naturally. Working from photographs for marker renders has been great, I'm able to see past what colors I KNOW these things are, and able to just render the colors I see. I really ought to do this more.
DeleteI suppose this is a bizarre compliment, but if I've learned anything by watching you render in markers, it's how to better render hair. Putting down a shade of yellow or blonde in brunette hair adds a lot of depth, and it's something I wouldn't have thought of myself.
ReplyDelete