Patreon Backer Bonus: Watercolor Tutorial- Negative Painting
My Patrons unlocked two bonus tutorials for February and March through their contributions on Patreon, and one of my lovely backers requested a tutorial through the blog. Happy to oblige, I began working on a tutorial on Negative Watercolor Painting, a technique that's gaining some popularity. I tried a couple new things that didn't work out so well in this post, so if you're interested in negative painting, please learn from my mistakes.

Materials I Used:
- Fluid 100 Watercolor Paper
- Sailor Mitsuo Aida Brush Pen (inks)
- Molotow Grafx masking fluid pen
- Assorted watercolor palettes
- Plastic watercolor palette
- Assorted brushes, including synthetics
- Copic Opaque White
- Caran d'Ache Supracolor II watercolor pencil (white)
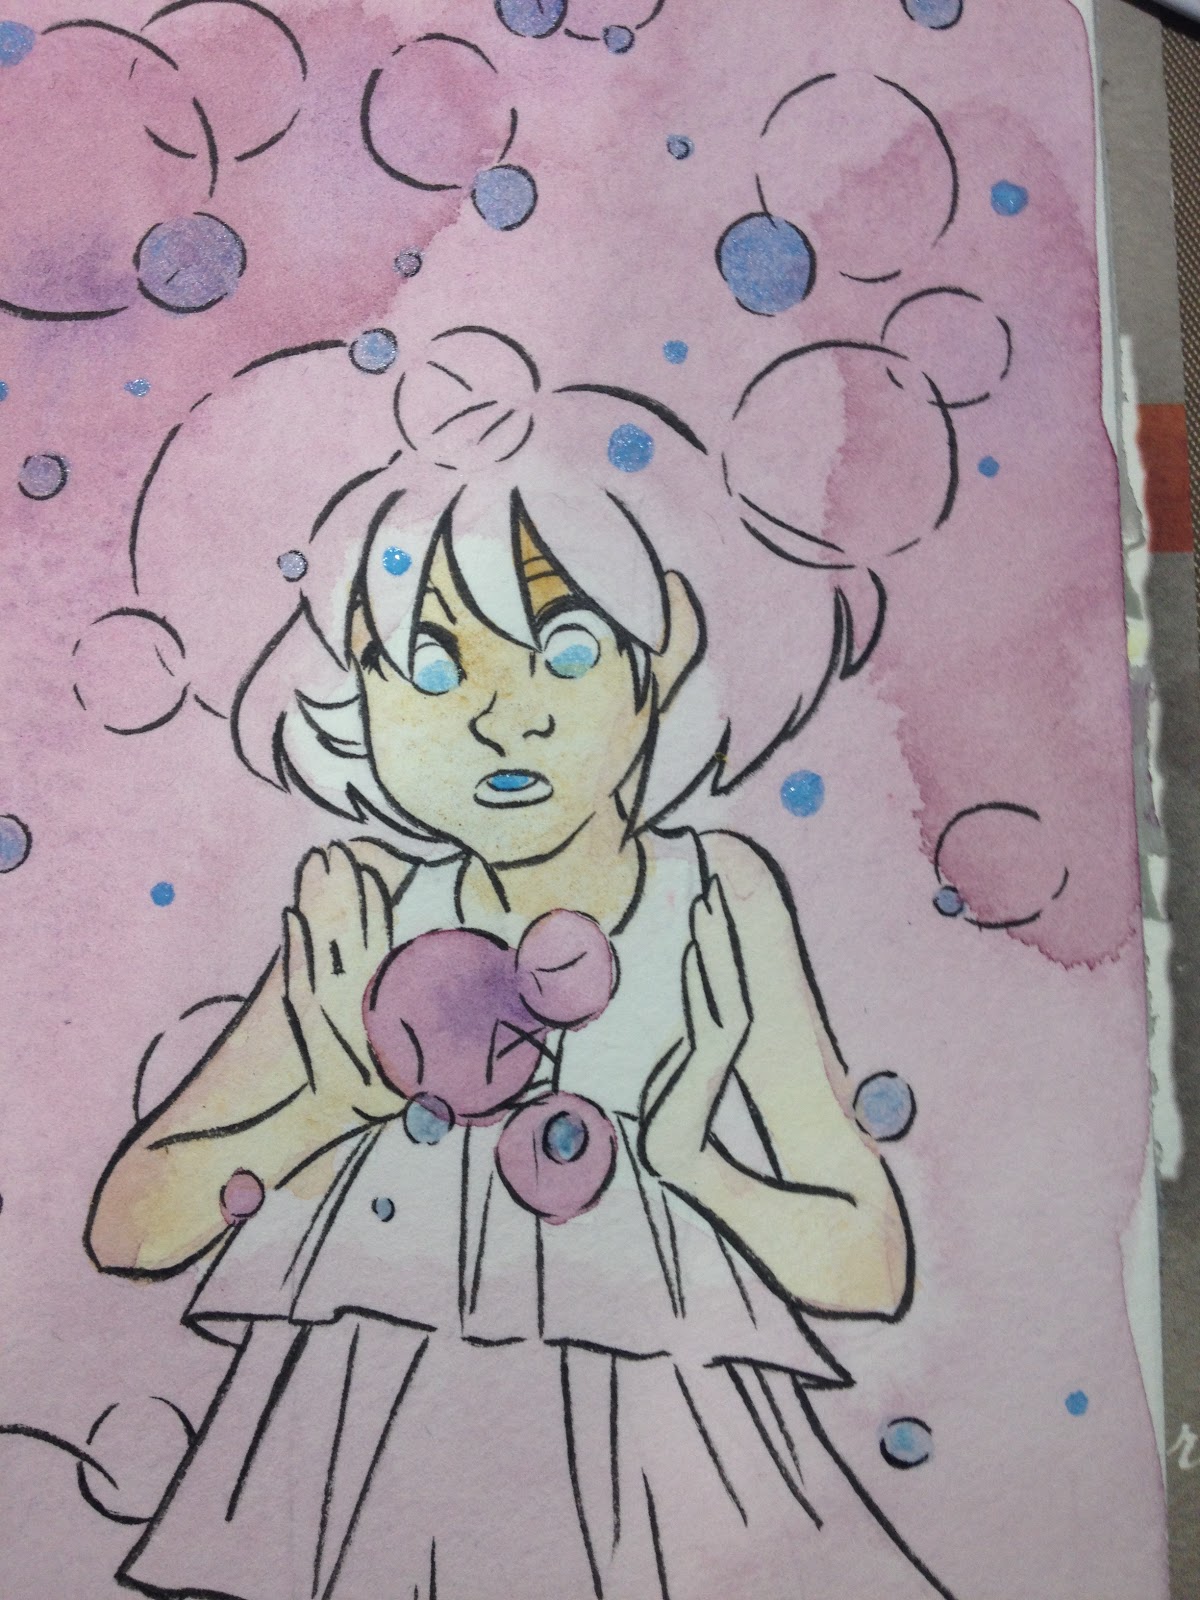
I begin this tutorial with an inked piece on Fluid 100 watercolor paper. Fluid 100 watercolor paper is the cotton rag option recently released by Fluid. I sketched and inked (with a waterproof Sailor Mitsuo Aida brushpen) a design of Kara surrounded by fireflies a few weeks before I got around to painting it, but as long as you allow your ink to dry for at least 24 hours, it should be good to go.

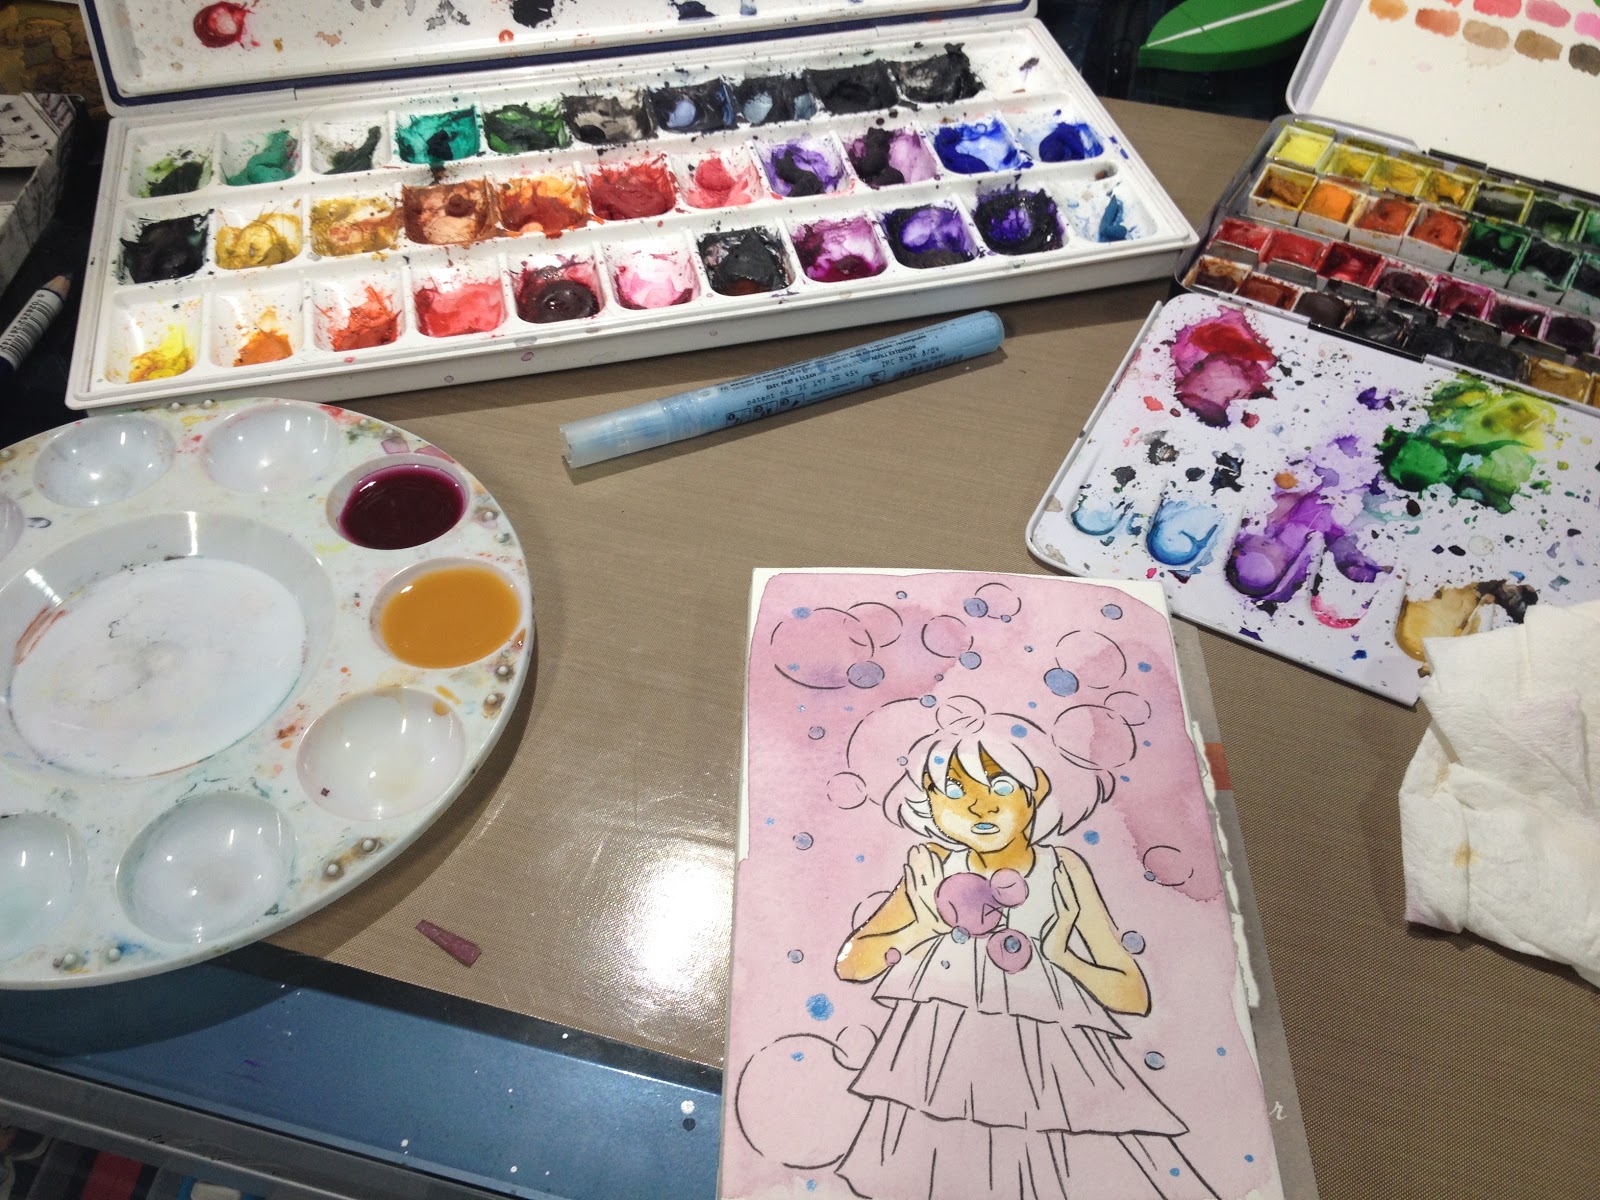
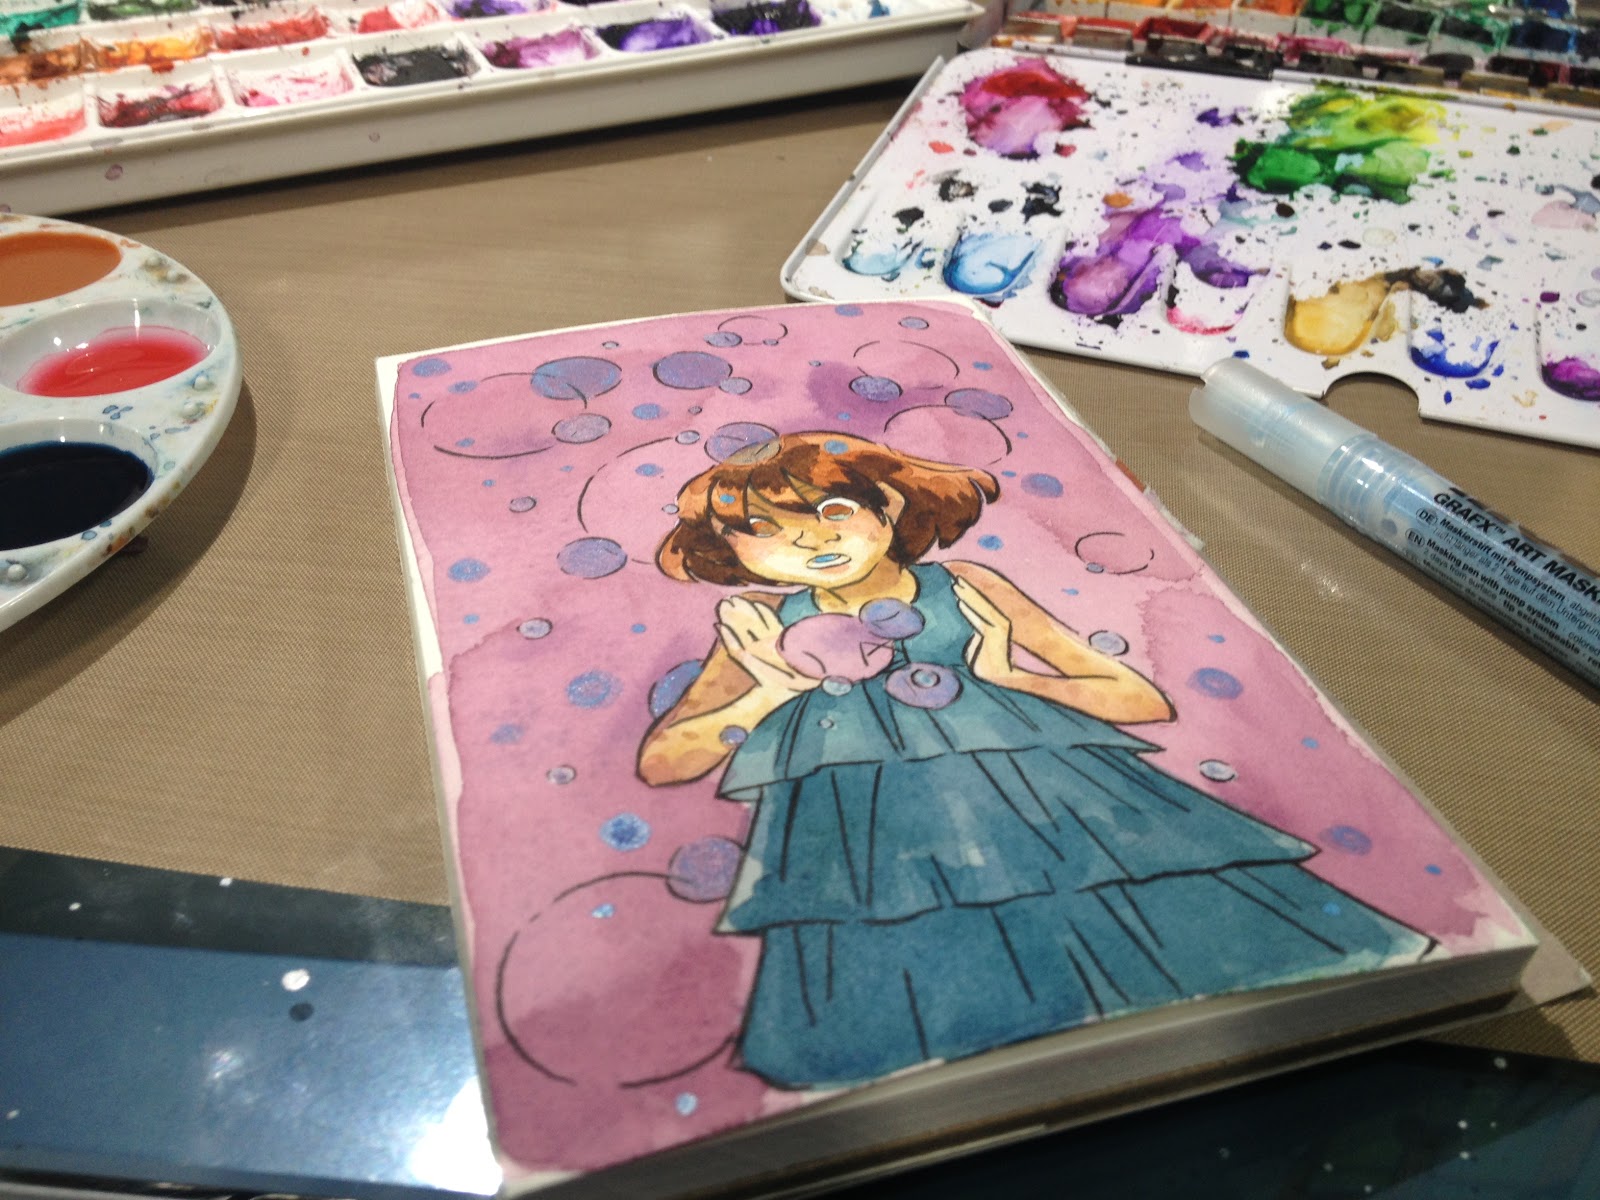
Here's my whole desktop setup. It includes a couple self-assembled watercolor sets- tube colors (left) and half pans (right), a round plastic palette, my illustration. My brushes are just off camera. You can read more about setting up your own palette of dried tube watercolors here.

I mixed my first layer of wash, to help establish the tone for everything, and to tint areas of Kara that wouldn't be lit by the fireflies.

And I used a Viva papertowel to dab up some of the excess wash- if you catch it while it's still wet, it's an easy way to do a glow effect.


And colored in the fireflies that cross Kara's skin. Retrospectively, I think I would have left them light.

Now that my wash is established, I start laying in tones for Kara's skin.


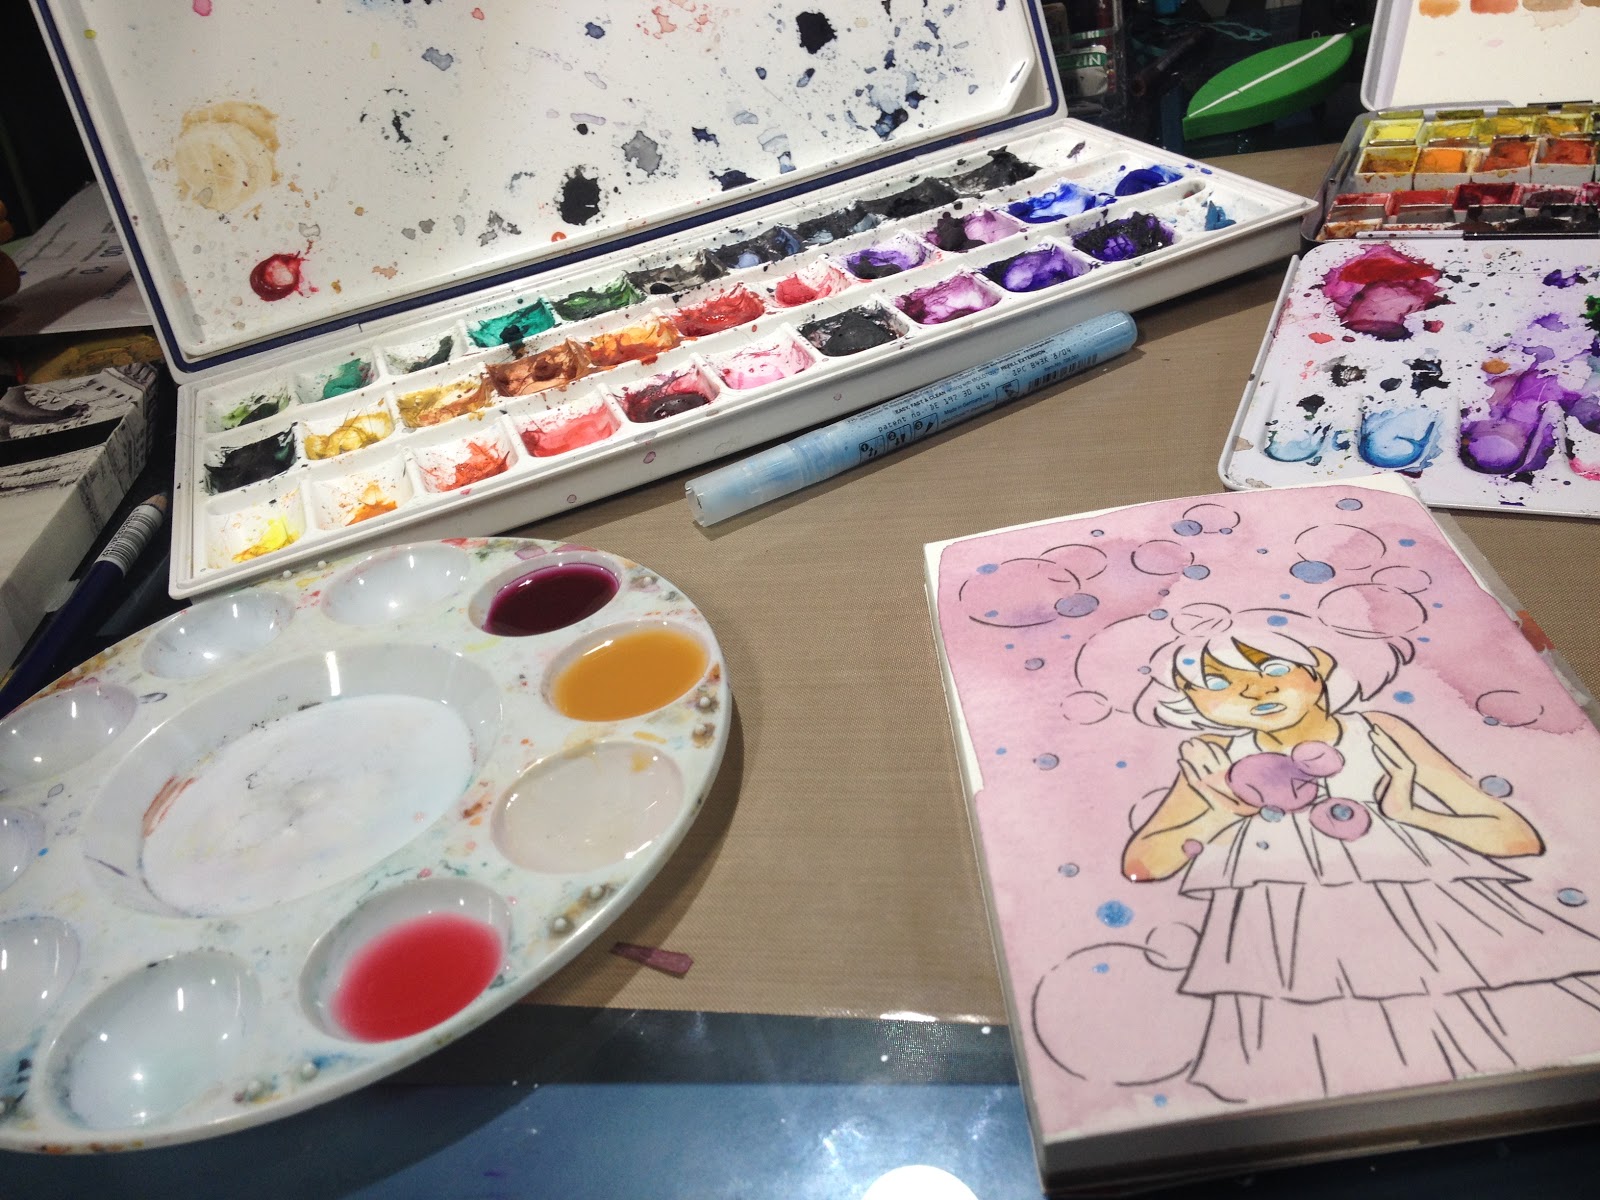
Here's where I really fell off the boat- I figured it would be faster and easier for me if I went ahead and masked bubbles that I didn't want colored by subsequent washes. I used Molotow's Grafx masking fluid pen, which has given me a lot of issus in the past. Next time, I may skip the masking fluid entirely, or I may opt for a higher quality masking fluid, as Grafx continues to give me issues.


While my masking fluid dried, I added another layer to Kara's skin.

And began mixing some of the other colors I knew I'd need.


And I start laying those colors in to give me a feel for what's going to need to be darker, what should be left light to account for glow, ect.


After my base colors were applied, I can start focusing on the background. So the whole point of negative painting is what you leave unpainted- I.E. negative space. I cheated a bit using the masking fluid to reserve areas of negative color, because I wanted to focus on just laying in washes.


And as the washes dry, I apply more layers of masking fluid, so I don't have to worry about remembering what I want to reserve. In the future, if I don't plan on adding details or colors to my reserved negative spaces, I may just go over them with a clear wax crayon. Masking Frisket (the plastic masking paper I've used in some videos) may also make this a bit easier, without causing surface damage.
And while I wait on the masking fluid to dry, I continue to work on building up shape, shade, and form on Kara.

And once those layers had dried, I applied another layer of purple wash to the background. Throughout my washes, I tried to move from red violet to dark blue violet as the layers built up.


And when that layer dried, I added more masking fluid.


And once that was dry, I continued adding washes to the background.


Perhaps one of the issues is that my paper may not have been entirely dry when I added the masking fluid- it was dry to the touch, but cotton based papers often take a bit longer to dry than woodpulp papers (as the water actually soaks in), or perhaps the cotton fibers were more fragile. Either way, I added another layer of masking fluid.

I applied one last layer of wash, and allowed it to dry.


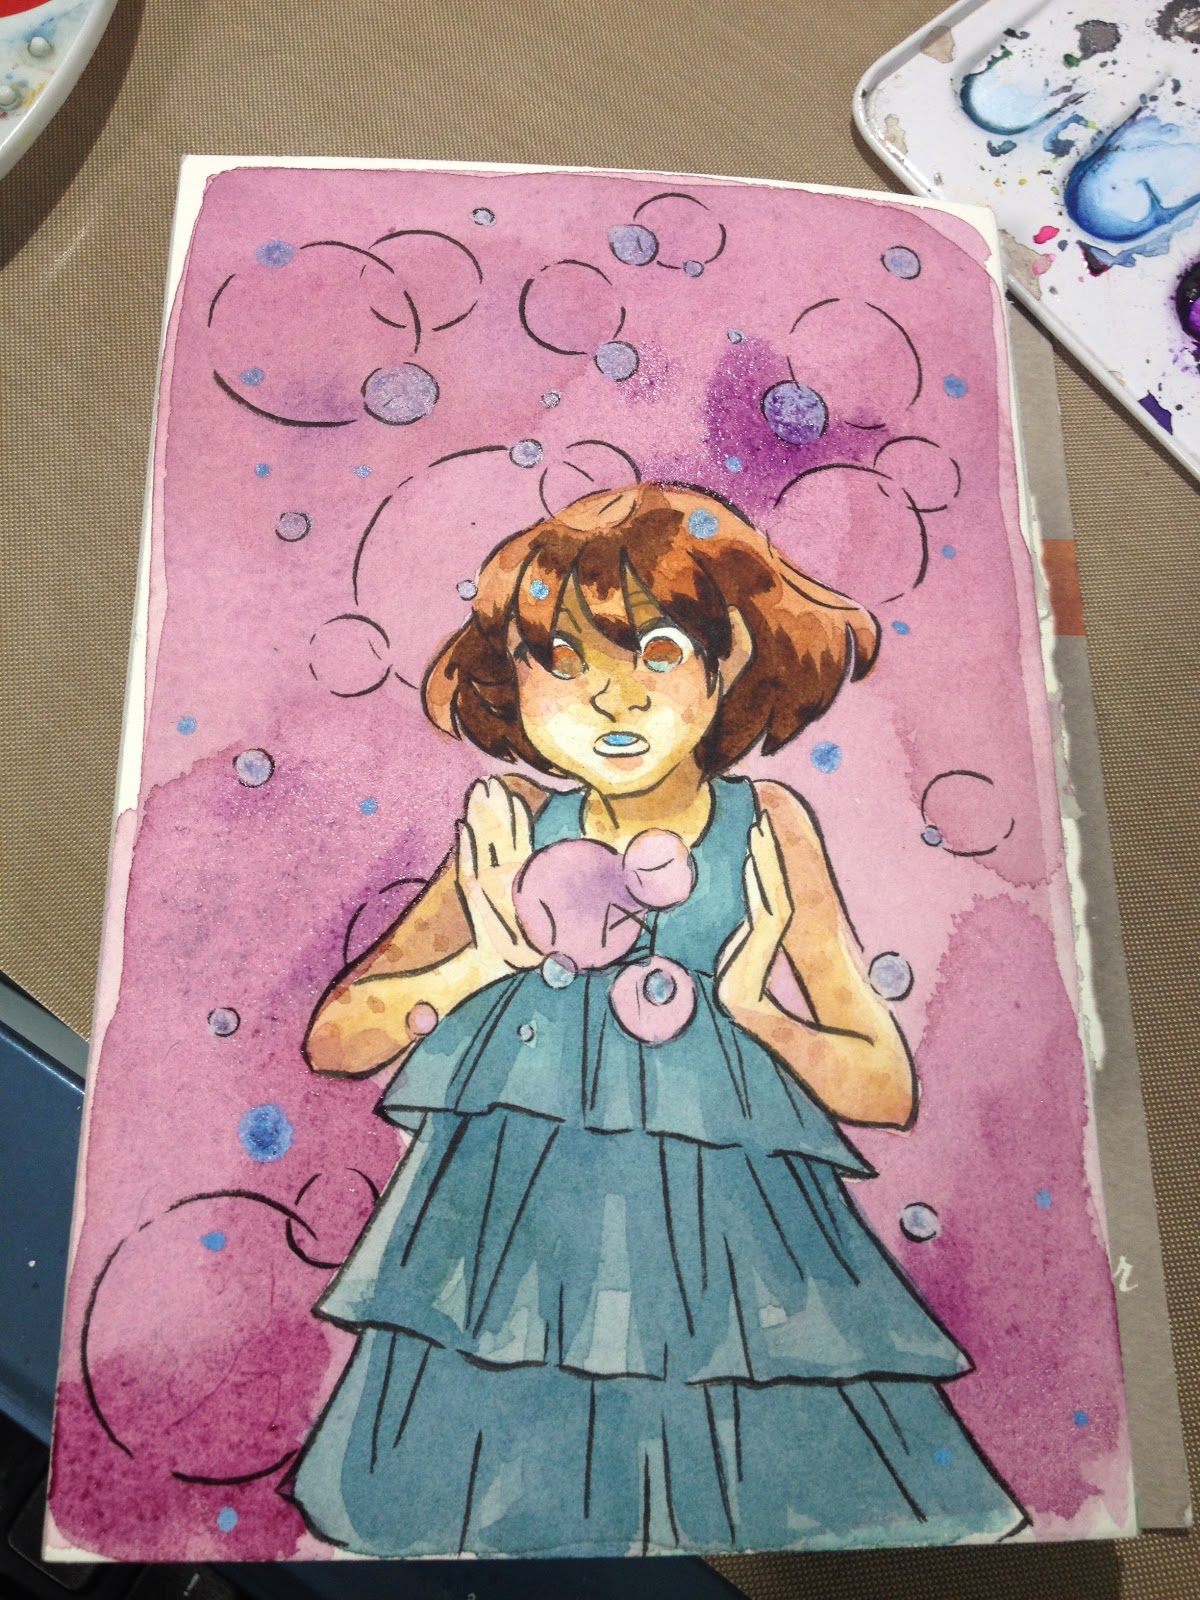
Once everything was dry, I attempted to pick up my masking fluid using a rubber cement eraser. This should be a fairly easy task- the latex in the frisket should want to adhere to your rubber cement eraser, but my Grafx proved more stubborn than I was- discoloring the paper and tearing when I tried to pick it up.


Because I had so many areas of discoloration, I tried to even things out with a light application of white watercolor pencil.

Unfortunately, the white watercolor pencil didn't blend out as hoped when water was added, so it didn't do much to even the tone.

So I upped the size of my guns, and pulled out my jar of Copic Opaque white. Copic also makes a little jar that comes with a pathetic, flimsy, overly thin little brush, but I recommend you get the jar and use a synthetic brush for application.


At this point, I decided to call it done, and just try this technique again, without the masking fluid. Negative painting is an interesting technique that can liven up your watercolor repertoire, but Grafx masking pens are not recommended for projects like this, where you want your reserved areas to remain unscathed.
I'm excited to revisit Negative watercolor painting at a later date, with some revisions to my approach, and I hope I've inspired you guys to give it a shot as well!
If you enjoy content like this, please take a moment to share it on your social media sites! Your social support helps me build up a larger audience, which attracts sponsors. If you'd like to help fund future content like this, please consider backing this blog on Patreon.


Comments
Post a Comment