Digital Flats Tutorial: Intro to Comic Craft

Love my art? Check out 7" Kara, now available as a webcomic!
What is Flatting, what are flats?
Flats are an opaque layer (or layers) of color applied as an initial color pass on an image or comic. For some artists, the flats are the ONLY stage of digital color applied, for others, they are a fast way to select areas for later color and effects, for still others they're a
Your finished flats will look something like this:

Or if you're doing a comic page, something like this:

Create a neutral background color
This allows you to better gauge how colors actually look.
After you've color corrected your inks to drop out any pre-existing bluelines or grays, you're ready to begin laying down color. I start with filling the background with a neutral color- usually a greyish brown- to help me more accurately gauge how colors work together.
If you hadn't yet, go ahead and convert your file to the mode you wish to work in.
Rule of Thumb:
For Web: RGB
For Print: CMYK
You can do this by going into Image- Mode- and select either CMYK or RGB, depending on your final destination.

For my own inks, I'll duplicate my ink layer, and turn off the original, then set the duplicate to Multiply. This will be my top layer- all colors will go beneath.
Then we're going to want to select a gray that is desaturated and neutral as our background color.

I then create another layer beneath my inks layer and fill it with this neutral gray.


Nattosoup Studio Art and Process Blog is a proud Affiliate of Ink Drop Cafe.
Brush Settings
I use Basic Round, largest brush you're comfortable working with for my flats, with the control set to Pen Pressure for inking on my Surface Pro 3.


Alternate Method for Filling in Lineart
You can also create fills by selecting an enclosed area on your inks layer using the Magic Wand Tool, creating a new layer, then filling that area in with the Paintbucket. This only works for totally enclosed inks, which is why I typically rely on filling things in by hand.

Make sure you're on your Inks layer.

Select the Magic Wand tool.

Select your totally enclosed area you wish to fill.

Create a new layer.

Using the Paint Bucket, fill with color.
Every Color Gets Separate Layer
This practice has come from doing freelance digital flatting for other people. By keeping your colors on separate layers, you can easily tweak one color if necessary. After you've finished flatting, if you need to reduce your file size, layers can be grouped together and merged, or you can merge all of your color layers into one layer.

Naming Your Layers
This is particularly important when flatting for others, but can also be very useful when flatting comic pages!

For every discreet object, I create a layer and name it after the object.

Filling in Areas and Reorganizing Layers
Once I've selected colors for every object, I start filling in my objects with a large round brush.

Once all areas have been filled, I begin cleaning up my outlines, erasing anything that crossed the inked lines.
Erasing Excess


To create finer details by erasing, simply adjust the size of your brush.
When erasing, I work from top layer to bottom, and turn layers off as I go.


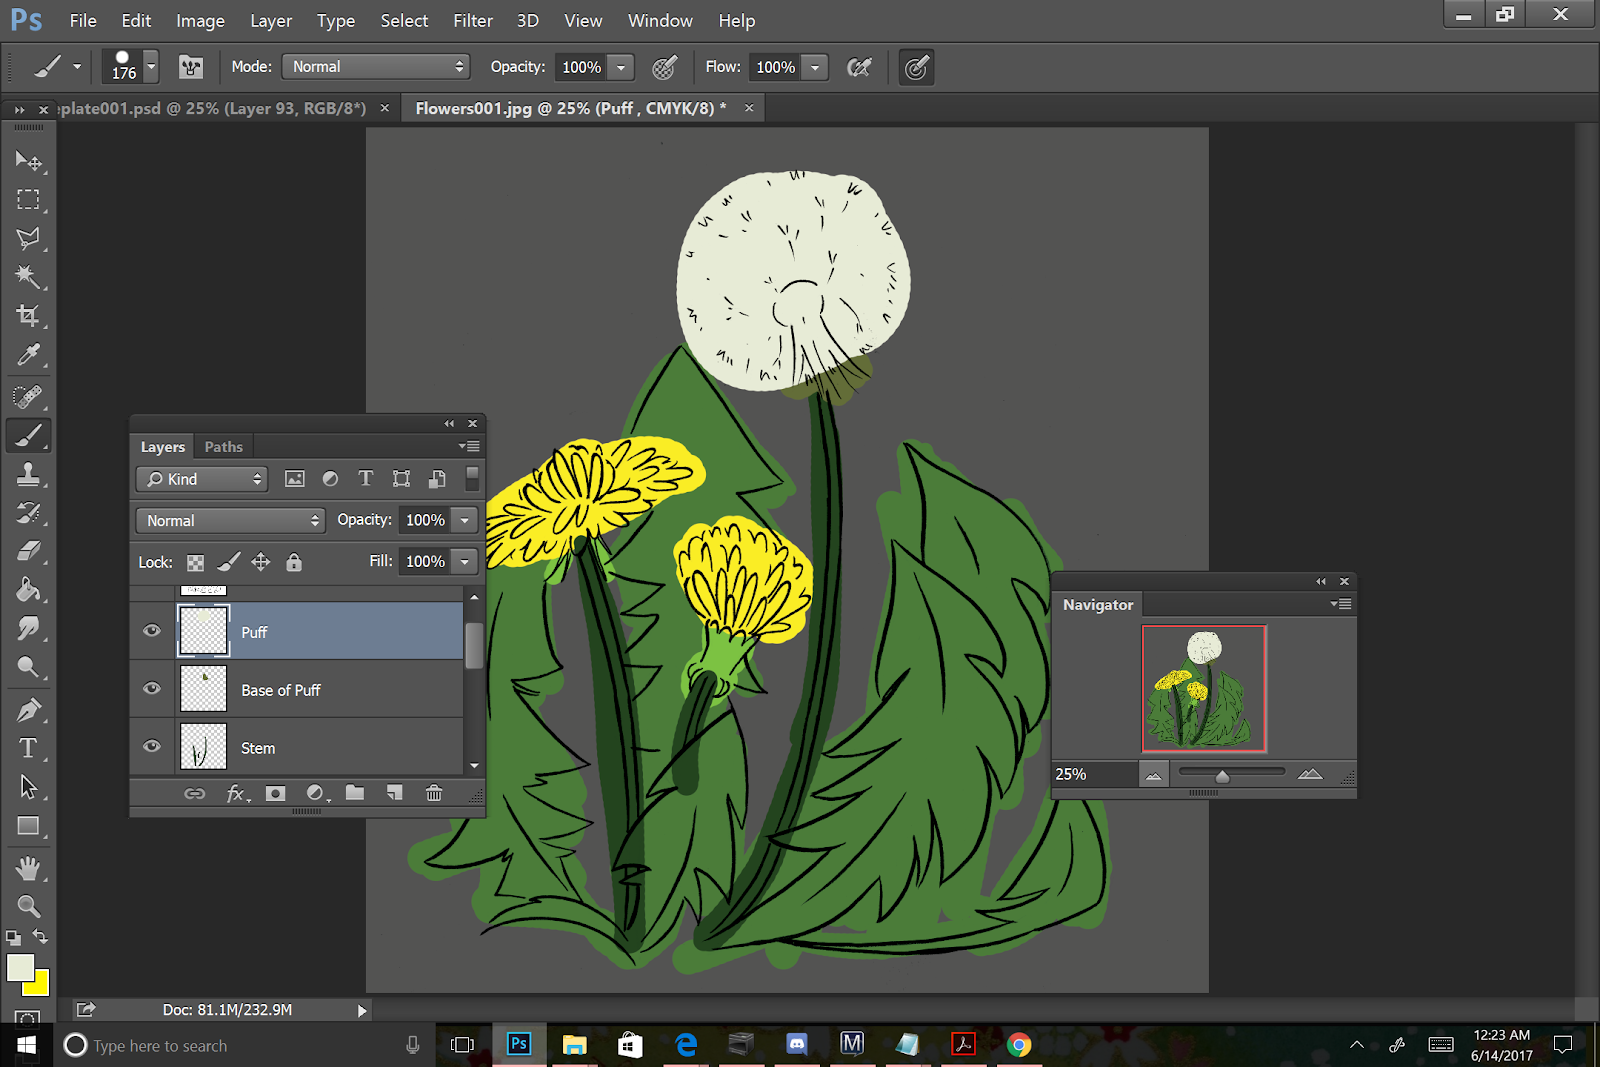
While cleaning up my fills, I decided I wanted to add more leaves to the background but didn't want them to have lineart- creating a softer focus for the background leaves.

I selected the green used for the foreground leaves, and then selected a darker green based on that.

And using a Round brush with the pen pressure toggle on, I began sketching leaves in the background.

And filled them in.


Other options for flatting:
Peltmade's
Multifill- Free
Flatten Pro-$99 USD
Both Flatten Pro and Multifill are Photoshop plug ins.
Other Examples of Flats


Resources and Outside Opinions
Omocha's Mega Cell Shading Step by Step
Jasmo's Flatting Tutorial:
Splicer's Flatting Tutorial
Vest's Flatting Tutorial Superman
Celesse's BPelt's Multifill and Flatten Pro Tutorial


Comments
Post a Comment