I've done charms several times in the past, working with a couple different companies--Ink It Labs and the now defunct Printcess. Inevitably, I'd run out of popular designs fast and spend the rest of the year trying to move less popular charms, since neither service offered a way to order exactly what I needed of each design. I'd even made charms at home out of Shrinky Dink when Printcess closed its doors, but I found those to be difficult to sell, especially as almost everyone around me had moved on to acrylic. I wanted to move on to something that was not only more cost effective for me, but also something that allowed for more customizability in regards to order numbers, and I'd drooled over wooden charm options for a few years before I discovered Ponoko. Ponoko is a laser cutting and 3D printing service that offers a variety of options including leather, acrylic, and wood laser cutting. Joseph was really excited about the options that Ponoko offered, and we agreed that if I came up with some designs, he'd help me out with getting them prepped for etching.
The Original Designs
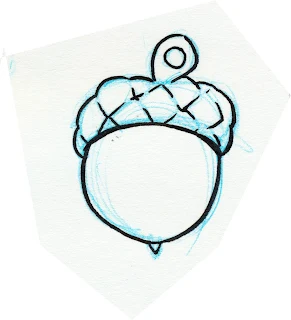
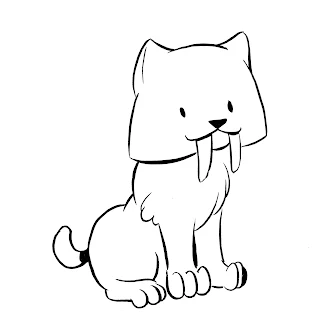
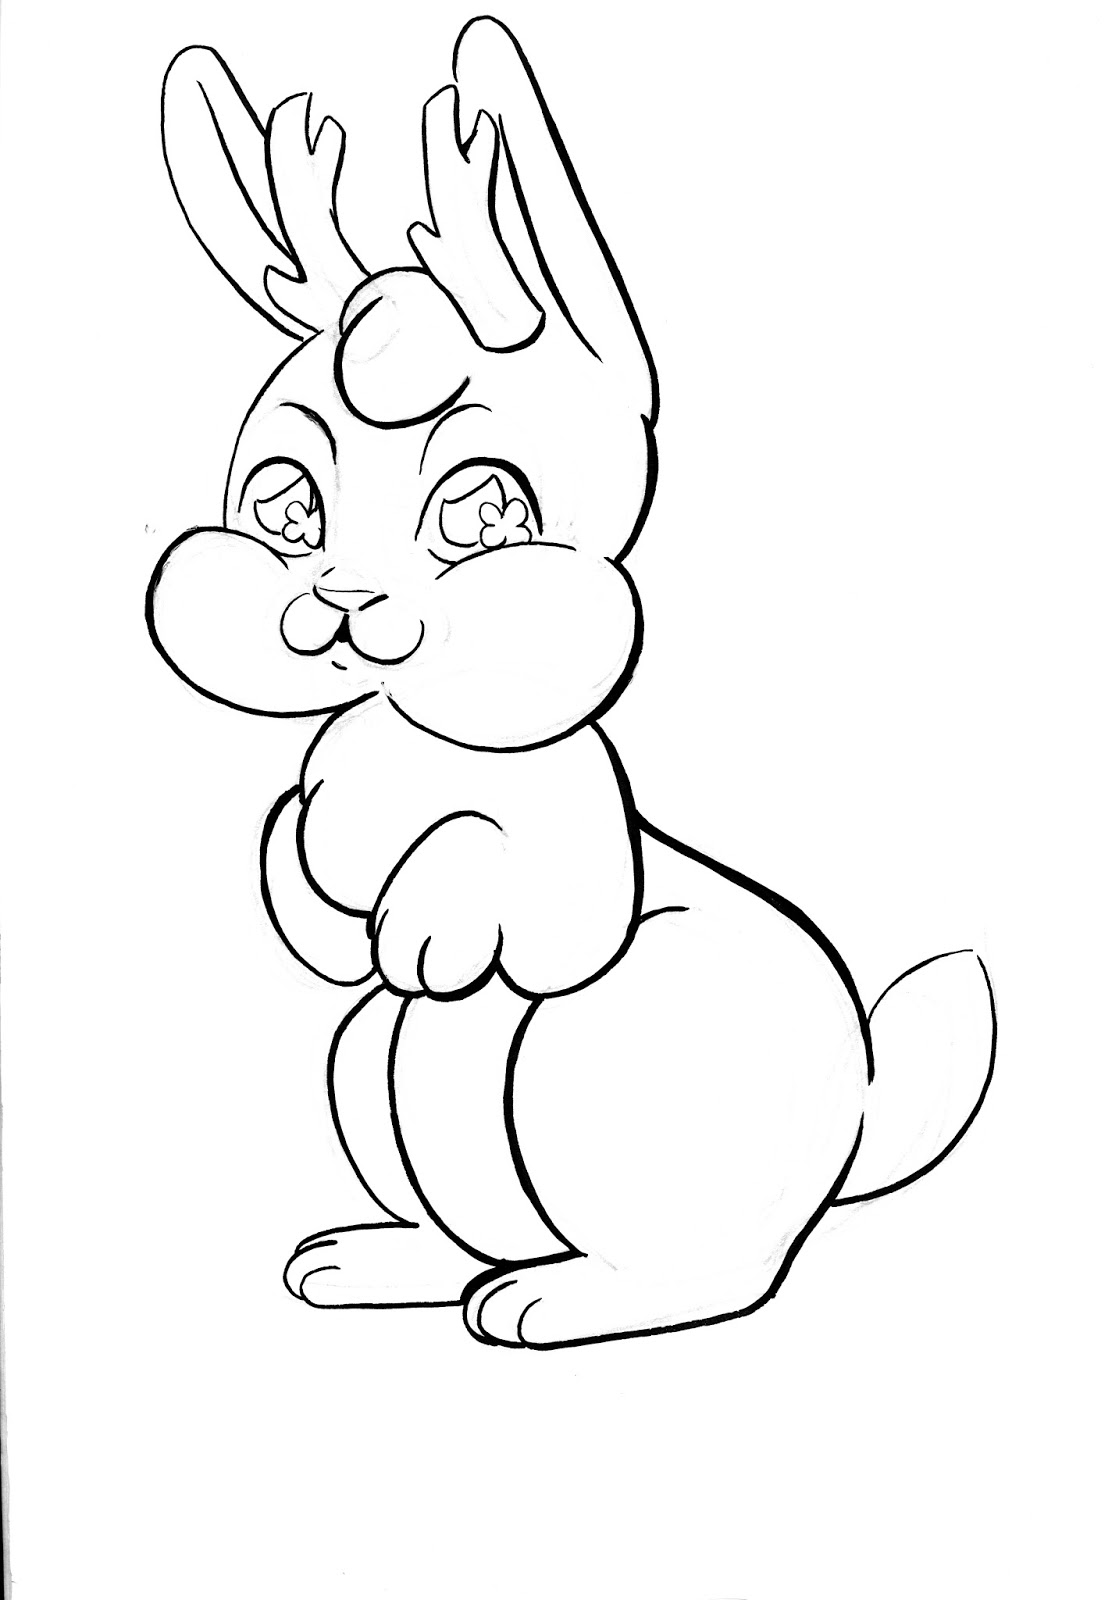
Below are the original charm designs I gave to Joseph. I'd inked them to make it easier for him to vectorize, but they're a little complicated for what he'd signed up for. Still, Joseph was a trooper, and spent weeks prepping these files with only minimal complaints.
Part of the charm making agreement was that Joseph would write all about his process after the charms were done, and we'd sold a few, so I'm going to let him take it from here.
Laser cutting
Becca has reviewed InkIt and the defunct Printcess, Shrinkie Dinks for creating charms. Every service has it's pros and cons. Production costs preventing a reasonable markup being one of the main cons. So Becca took some dinosaur designs, a few other inked pieces, and produced a cute animals wooden charm line intended to be laser cut by Ponoko. Many charm services will work with rasterized files (bitmap), but most laser cutters can't print color; the files are strictly to give cutting and etching information and need to be in vector (SVG or AI) form.
Processing files
Working with rasterized files
The fastest way to convert a rasterized image to vector is to use a technique named live tracing. Inkscape has the most accurate and fastest live trace. However, I’ve found I can tune live tracing better in Adobe Illustrator CC 2014. You can also use a dedicated live tracing program such as VectorMagic, but I don’t have experience with it.
If you have a simple design, Ponoko has several examples of converting a solid, featureless shape into an etch, cut, or outline. Becca’s designs had interior complexity, but also many instances of one of the more complicated features; that being an etch area which shares an outline partially with a cut line and partially with an etch line.
The non-filled areas are light, but this is an example of an etched area with both cut lines and etched lines on the contour. This wooden Utah Raptor can be purchased from Nattoshop.
Specifically, I used a combination between default live tracing settings, mostly Inkscape’s, but also Illustrator’s line art settings which only captures strokes.
The default live tracing method is best at capturing the form of the product, but it creates virtually all strokes as closed path fills. If you submitted line cuts and line etches as closed paths with empty fills then you would be paying more than twice as much for the making process because the laser would cut over each line twice. So I use this to produce interior etched regions and occasionally to capture cuts or line etches by expanding the path, directly selecting anchors, and removing either the inner or outer edge of the closed path. This is a simple, but tedious, way of manually converting a closed path fill to a stroke.
Adobe Illustrator CC's default live trace. This raccoon charm can be purchased from Nattoshop or at conventions.
The line art method will require some tweaking as well, but not to the same extent as if the entire bitmap were live traced solely with the default live trace settings. It may require use of the pen tool or line segment tool to fill in missing pieces which were beneath the threshold for producing a stroke. Because the lines are averaged over a path, some of them may be undulating, so be prepared to use the smoothing tool. Regardless, this technique works well for creating the outline of a bitmap without requiring much processing after changing live tracing settings.
Adobe Illustrator CC's line art live trace. This raccoon charm can be purchased from Nattoshop or at conventions.
After creating an outline with line art, I added back the internal details created with the default live trace settings. Then I used the slice and add anchor point tools to clear away the internal lines which connected to the outline. Which allowed joining all the outline cut strokes into a single path. Having the outline as a single path probably isn’t necessary, but I assume the laser can more easily cut a straight path if it’s one individual path rather than several disjointed paths which share overlapping anchor points. It also makes spotting a hole in the outline which would prevent you from poking it out from the template easy.
An animated example of how to work with only the default live trace settings. This helps reduce laser passes by collapsing a closed path fill into a simple stroke. This raccoon wooden charm can be purchased from Nattoshop.
If there are both etched areas and non-etched areas on the edge of your products, then there’s some extra processing necessary. First, copy and paste the etched area in place and set one of them to have the fill you desire with no stroke. Then, isolate the other etched area and remove the fill and add a stroke. Then use the slice tool to break the path where the fill interior line meets the exterior cut line. Repeat for the second place the interior line meets the exterior cut line which should create two strokes. Delete the stroke along the outline if there’s already an outline there and you’re finished. Figuring out this process was the most complicated part of editing files for laser cutting.
Creating vector files
So let me back up and say that even though live tracing can make conversion much easier, the simplest thing to do is to just create an image from the ground-up to be laser cut. That being, taking etching regions into consideration and rendering lines as strokes with no outline--rather than using closed paths. You can draw a file using this method easily in either Adobe Illustrator, Inkscape, or MangaStudio. In fact, if you have a complicated design, I’d recommend you set the bitmap as a background in vector-based program and draw on top of it.
General settings
Ponoko has posted general settings for EPS or SVG files submitted to their laser cutting service. But for convenience, here are the highlights:
0.01mm strokes
#0000FF cut
#FF0000 etch line heavy
#00FF00 etch line medium
#FF00FF etch line light
#000000 etch fill heavy
#808080 etch fill medium
#E6E6E6 etch fill light
5mm minimum object size
0.2-0.4mm material lost on cut
1mm minimum feature size
Prototyping
Ponoko has some fantastic blog posts and tools to assist in getting from a design to a product in as few iterations as possible, but it still helps to have a prototype phase. I would recommend you use the material you plan on laser cutting, unless it’s prohibitively expensive. Also, there’s always a chance you can sell your prototypes. I would recommend you only use a P1 size or smaller
Sloth final design on left, prototype on right. His mask was a light etch rather than a medium etched line. This sloth cherry wood veneer MDF wooden charm can be purchased from the Nattoshop or at a convention.
Red Panda prototype design on the left and the final design is on the right. We thickened his tail lines and removed the fill from his mask and added a fill to his ear. This red panda wooden charm can be purchased from Nattoshop.
We ordered our prototypes at different sizes. You may notice these are the up to date designs, this is because I used Illustrator's place file feature. We used a P1 to save on costs even though most of the prototypes were sellable. All these wooden charms can be purchased from Nattoshop.
Shape nesting / packing
To maximize the amount of product from a material you need to nest your products into as small an area as possible. The orientation of your product on the material plank doesn’t matter aside from possibly material grain because it’s going to fall out of the template when you peel away the protective paper.
Ponoko has templates you can use in for Illustrator, Inkscape, Corel Draw, and AutoCAD formats which provide instructions for laying out your product onto the material. I recommend you use the software's place file feature in case you update an individual file and don't want to have to reorient it.
If your products have straight cuts, you can even make them share edges so as not have to make the same cut twice. But in general, the laser is going to cut away between 0.2mm and 0.4mm of material. So if your designs are too close to one another (within 0.2mm) and the material scorches, like wood, then areas will appear more burnt than others, but some people may like this aesthetic.
I bumped some of the products closer than 1mm away from each other. The cuts were curved, so it would have been difficult to merge them, but it did leave for a slight scorch mark on some of the products.
Scorch mark on a prototype of my Red Panda design which can be purchased from Nattoshop.
By Hand
I recommend if you are creating multiple different designs in one cutting process that you compute how many of each product you would like with respect to the others and try to create a repeatable shape--like a square--which you can potentially tile into whatever size template you’re cutting. This also future proofs your order a bit in case you want to increase or decrease the amount of product you receive. Unfortunately not all of their sizes easily nest into others evenly. You have three options to fill the buffer space:
Leave it empty.
If you don’t mind having inconsistent sizes in your product line, you can increase the space of some of the blocks into the gutter.
Manually nest product into the gutter.
Aside from great performance, nesting by hand can also save you money if you pack all the etched areas as close together as possible. The process of etching an area is different than cutting lines. It requires a dedicated run over your material. So the smaller the region the laser has to travel over, the better.
The final 12x24 premium cherry wood veneer MDF template design we used to order charms. You can see I wasted very little space, but that the wood grain for charms is going all over the place. I did repeat a P1 pattern from the prototype a few times and manually nested the rest. All of these wooden charms are available from Nattoshop as well as at conventions.
By Machine
Finally, nesting takes time, for humans and machines. In the CAD industry, this is known as a Knapsack Problem and is NP-hard, which means computers aren’t good at it. There are many free programs out there which can nest without fine reorienting--more than horizontal or vertical--such as CodeWeb’s TexturePacker, or libGDX texture packer, or GoNest. Ideally, unless you have symmetrical or boxy products, you will want to reorient many of your products. You shouldn’t need a nester which can alter the size of your products, but that may also be something to consider.
Some commercial nesters can reorient products, such as eCut, but I was unable to get it to function in this way. It generated bounding boxes for all of my products and simply tiled them horizontally or vertically. Far from an ideal example which the actual edges of the shape would be nearly bumped up against one another and could take on any angle. Vectric’s Cut2D also reportedly does ‘true shape nesting,’ but I didn’t get a chance to test it.
eCut doing a poor job trying to fit all of my charms into the allotted space I was able to manually put them into. You should notice none of the charms are oblique.
Product
My best seller, the Utah Raptor, which came out beautifully after some simplification from the original design. It can be purchased as either a necklace, keychain, or cell phone charm from Nattoshop or at conventions.
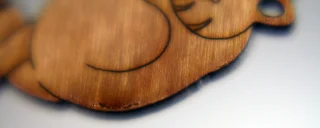
Your products will arrive in a sheet of material covered in cardboard to protect it. It will have protective paper on both sides, one of which will be burnt. I recommend you pull off the protective paper from the burnt side first so you don’t have to pull off the sticky film from each individual product. Be careful, but you shouldn’t have to pull so hard that anything will break. Then remove the protective paper from the back side, recycle or discard the leftover material from the template and you should be good to go.
An example of what wooden charm board looks like after the charms and protective film has been removed. The utah raptor, llama heart, red panda, lucky cat, jackalope, tree sloth, raccoon, Kara full, Kara head, smilodon, leaf, and acorn charms can be found at Nattoshop or at conventions.
The finished charms we made look fantastic. We used cherry-veneered MDF with mostly medium etching. The charms have a lot of character, and my shape nesting caused the grain of the wood to go in seemingly random directions, which I think looks phenomenal. The charms look solid and feel solid. A few people have sniffed them because they like the burnt wood smell, which mostly subsided over a few days. I believe MDF is toxic, so advise parents when buying for young children.
Close-up of Becca's Jackalope. The horns came out fantastic. Available at Nattoshop.
Close up of Becca's baby, Kara. Her eyes, dress, acorn, and legs are so cute! Check it out at Nattoshop.
We forgot to thicken up the tails of the utah raptors which caused a few of their tails to break off. One or two of the products was difficult to remove from the template out of a couple hundred and around 4 of the cherry wood veneer charms appeared too pockmarked to be sold. So you can expect maybe 2% of your product to arrive in sales-bin state. Finally, the products hung well enough on their jump ring holes, but you should probably take the prototype phase to test how it hangs.
This raccoon bandit got fed up with eating trash and had his hands in Becca's cookie jar. Get your own at Nattoshop.
Catch these Pteranodons before they all fly away. Available at Nattoshop and at conventions.
Please consider purchasing some of Becca’s charms from her shop if you’re enjoying this post. She has the following designs:
Pteranodon
Utahraptor
Lucky Cat
Raccoon
Red Panda
Sabertooth Tiger
Tree Sloth
Jackalope
Llamas
Kara holding acorn
Acorn
Leaf
Kara head
Customer Service
In all likelihood, you won’t need to speak with Ponoko’s customer support. They manage to keep customers in the know via:
Detailed instructions in their templates
Extensive guides via their blog
Straight-forward uploader which includes a file validator with mostly meaningful error messages
Feedback from Ponoko when I uploaded a file which had lines thicker than 0.01mm. It clearly states the problem and suggests I can simply email their support if I can't figure out the issue myself. A great tool and good service.
But the first time I ordered something from Ponoko I did have a brief run-in with their support. I was making 3 Nattosoup necklaces to test out their service. Becca wanted a layered, two material design. The back would be a mirrored acrylic, and the front a green-glass acrylic with etching. The process was straightforward, but I hadn’t read the material instructions. The files passed through the online validator fine because it was technically correct, but when a human inspector saw the files, with NO context other than file names saying back and front, they realized that the blob-like back wasn’t oriented properly for the mirror acrylic.
This is for the Nattosoup necklace I had made. The inspector must have realized the bottom was the back of the necklace and that it wasn't properly flipped horizontal.
Had I read the instructions, I would have noted that mirrored acrylic is cut from behind, so that the mirror doesn’t affect the laser. Ponoko’s customer service quickly suggested I horizontally flip the design to accommodate it for being cut from behind and everything was on it’s way. I’m impressed they caught my negligent mistake and gave a clear explanation of how to fix it.
Shipping
Shipping is free if you’re ordering over a $100 and I believe scales linearly with the weight of material otherwise. Their expedited shipping has roughly a week and a half turn-around time. It takes 2 days to process and cut a product, and roughly a week to ship. I had a similar experience with standard shipping, so unless you’re getting free expedited by joining Ponoko’s Prime membership, it may not be worth paying extra.
Pricing
Ponoko is selling you a product and a service. So as with making anything, you have to consider how much both supplies and process will cost you. Ponoko gives an overview here of what it may cost to produce something.
I recommend you choose a target retail price for your product. Set a minimum size for your product and estimate how many you could fit in the size of material you’d like to order. Take into consideration how the thickness of the material you’re ordering would affect the product, and check what material would best fit your needs given your thickness and price requirements. Please notice not all materials are available in all sizes nor thicknesses.
Materials Cost
Ponoko has more details on materials here. In general, costs of materials are priced from lowest to highest:
Cardboard$0.50
Paper$2.50
Plastic$4
Fabric$7
Wood$10
Leather$16
Rubber$18
Metal$180
Please understand this is a simplification of the materials pricing model, as the thickness, size, and type must be taken into account. Ponoko has examples of how fine each material can hold features and what each material looks like etched to different degrees.
From Ponoko's Premium Veneer MDF. Example of etched areas and etched areas with etched lines
From Ponoko's Premium Veneer MDF. Example of feature size for cuts.
Process Cost
Ponoko has details on process here. Specifically, the complexity of laser cutting adds to more laser time, which increases the price. Sharp turns slow down a laser, as do etched areas. So take the following items into account when designing as they will result in a more expensive laser cutting:
The larger an etched area
The darker the etching
The more laser cuts or etches
The shaper the corners or the tighter the loops
The more times you cut or etch over a line
The denser the material
That being said, your product has to be recognizable and distinct, so don’t go overboard pinching pennies. But keep in mind the minimum feature size is 1mm and the minimum object size is 5mm. So cutting around individual hairs will just burn all the material away and etching individual hairs will basically turn into an expensive etched area. Ponoko has a good post about simplifying a product to save on making time.
These Kara wooden charms are a bit on the elaborate side. They have two intensities of engraving, heavy and medium and many sharp edges in the hair, on the eyes, the dress, etc. But they look so adorable that it was worth justifying the cost. They also represent the 7" Kara line of graphic novels well and have served as great give-aways with the book.
Ordering
I would highly recommend you use your $20 off making coupon to make your first order, which should be a prototype of either cardboard or your desired material. Then, once you’re ready for your order, check how much it would cost to make your order. Look at Ponoko’s Prime membership program and determine how much it might save you to join the program for one month and get the discount on making. Take into consideration if the discount on making will drop you beneath the $100 free-shipping category.
Limitations
Ponoko has recommendations for staining or painting etched areas of material--as well as for staining or painting non-etched areas. However, laser cut materials will be one color with a few shades. So don’t design them as you might full-color acrylic charms.
Ponoko can not etch onto both sides.
Ponoko will not add jump ring holes to your design for you.
Ponoko has instructions on how to create joints to fit materials together, so you can create 3 dimensional objects out of laser cut materials, but construction would be up to you or the customer.
Ponoko can not take individual designs and shape nest them onto a template for you, but they will advise you on any mistakes you’ve made in the process.
Ponoko can not make large laser cut items, such as a 3ftx2ft sign in one piece.
I doubt Ponoko will refund you if you botch the cutting of an order or fix an order you have not fully cut out. So read instructions carefully and interact with their support if you have concerns and it shouldn’t come to that.
Ponoko will not allow you to use your own material with their laser cutters.
Shipping outside the US can be expensive.
InkIt double-sided full color charm vs Ponoko wooden charm. This Jackalope can be found at Nattoshop.
Additional techniques
Avoid grouping elements until they are completely processed and are ready to be dropped into a template for printing.
Use select all before saving to ensure there are no stray points which might confuse the Ponoko software.
Stain or paint your medium-to-heavy etched products before removing the protective sheet to save you from having to finely paint etched lines and areas.
Line etch around any etched areas.
Fuse and stack different materials to give a 3D effect and some color variation.
Grain direction will always run horizontal as drawn on the computer screen, so take this into account when orienting your products.
Purchasing a laser cutter
After spending close to $500 on wooden charms, it occurred to me that a laser cutter wouldn’t cost much more. I’m in the beginning of researching getting a laser cutter, but after watching several Youtube videos and reading for a while, the $500 40W JuLong seems like it may be in our future. Here are a few things to consider:
Proprietary gas mixture required is laser tube (CO2 and some trace gases)
The machine requires a lot of space.
Must be able to hook up to a ventilation system (which probably restricts you to a garage, basement, or attic).
Can cause permanent eye damage if not careful.
Must have water cooling system, which can be as simple as two five gallon buckets.
Requires mirror alignment when first received and possibly when moved.
Smaller engraving area than what is available from Pononko.
May be required to use proprietary software which doesn’t interact with Adobe Illustrator or Inkscape.
Consumes about as much electricity as 3 desktop computers when running.
You may need to apply protective film to material if you’re just going to buy it from a hardware store.
Verdict
Ponoko is relatively cheap, Becca was able to make a much higher profit margin on her wooden charms than on her previous acrylic charms. Their customer service is great, their online interface is good, and most importantly, the quality is fantastic. Again, working with complex bitmap designs was not ideal, but we eventually came out with a great product with plenty of time to prepare them for a show. They’ve been received well at most cons, but don’t expect them to a hit everywhere. Let me know which is your favorite, and please consider purchasing Nattoshop.


Comments
Post a Comment