Planning an Illustration Using Photoshop

Digital sketching and planning use the same basic concepts as constructive figure drawing and sketching on traditional media. I'll often work with both traditional (thumbnail, inks, final piece) and digital (sketching and cleanup, digital colors, corrections) to create a final illustration. Working mixed media like this allows me the ease of resizing and correction without total redraws.
I often begin with a traditional media thumbnail (or several thumbnails) as it's easier for me to think when I am using pen or color pencil in my sketchbook. Digitization at this stage is lazy- often I'll just take a photo of it with my smartphone, and send it to myself via Discord. This is saved in a commission folder and opened in Photoshop. I'll recenter the sketch, change the size and ratio, and bump the opacity down, and then I'm ready to start sketching. Layers and layer settings are utilized like onion skin to develop sketches and figures, and I work using my Surface Pro 3, as it allows me to run Photoshop and sketch directly on the screen.
This piece was created as a commission- the customer wanted tight inks like I did for my Inktober 2017 series, Lilliputian Living. For today's walkthrough, I'm going to focus on developing the sketch and the figures.
Initial Sketch

My initial thumbnail is tiny- maybe 2"x3". The end piece needs to be about 8"x10", so I scale up my thumbnail and work at that scale.
Blocking in Figures:

I begin with a line of action and a rectangular shape. This rectangle blocks in the torso, the line of action determines movement and gesture.

From there, I use an egg shape to block in the ribcage.

And a bean shape to block in the pelvis.

Once those have been blocked in, I knock the opacity back, and use sticks to block in the limbs, and balls for the head and hands.
Once this is completed, I have a fairly good idea of what the gesture will be, as well as a great starting point for the figures I plan on drawing.
Blocking in Background:

Since the prompt is a mage with his familiar, I thought the setting should be somewhere dark and secretive. Since the mage is Lilliputian, I thought perhaps a hole in the ground, complete with tree roots, would serve as a cave.

So I begin by lightly sketching in the environment, framing the 'live' area with treeroots and dirt.

Next I sketch in my lightsources- two candles- as well as the light they cast.


Refining Figures:
Refining Poses and Skeletal Frames:

I reduce the opacity on everyting, and create a new sketch layer.


I redraw my skeletal figures.

And reduce the opacity on everything again.
Constructing the Figures:

Using cylindars and spheres, I begin fleshing out the figures around the wireform skeletons.

I also develop the head- starting with a sphere, adding a curved plane for the face, and contouring the shapes.


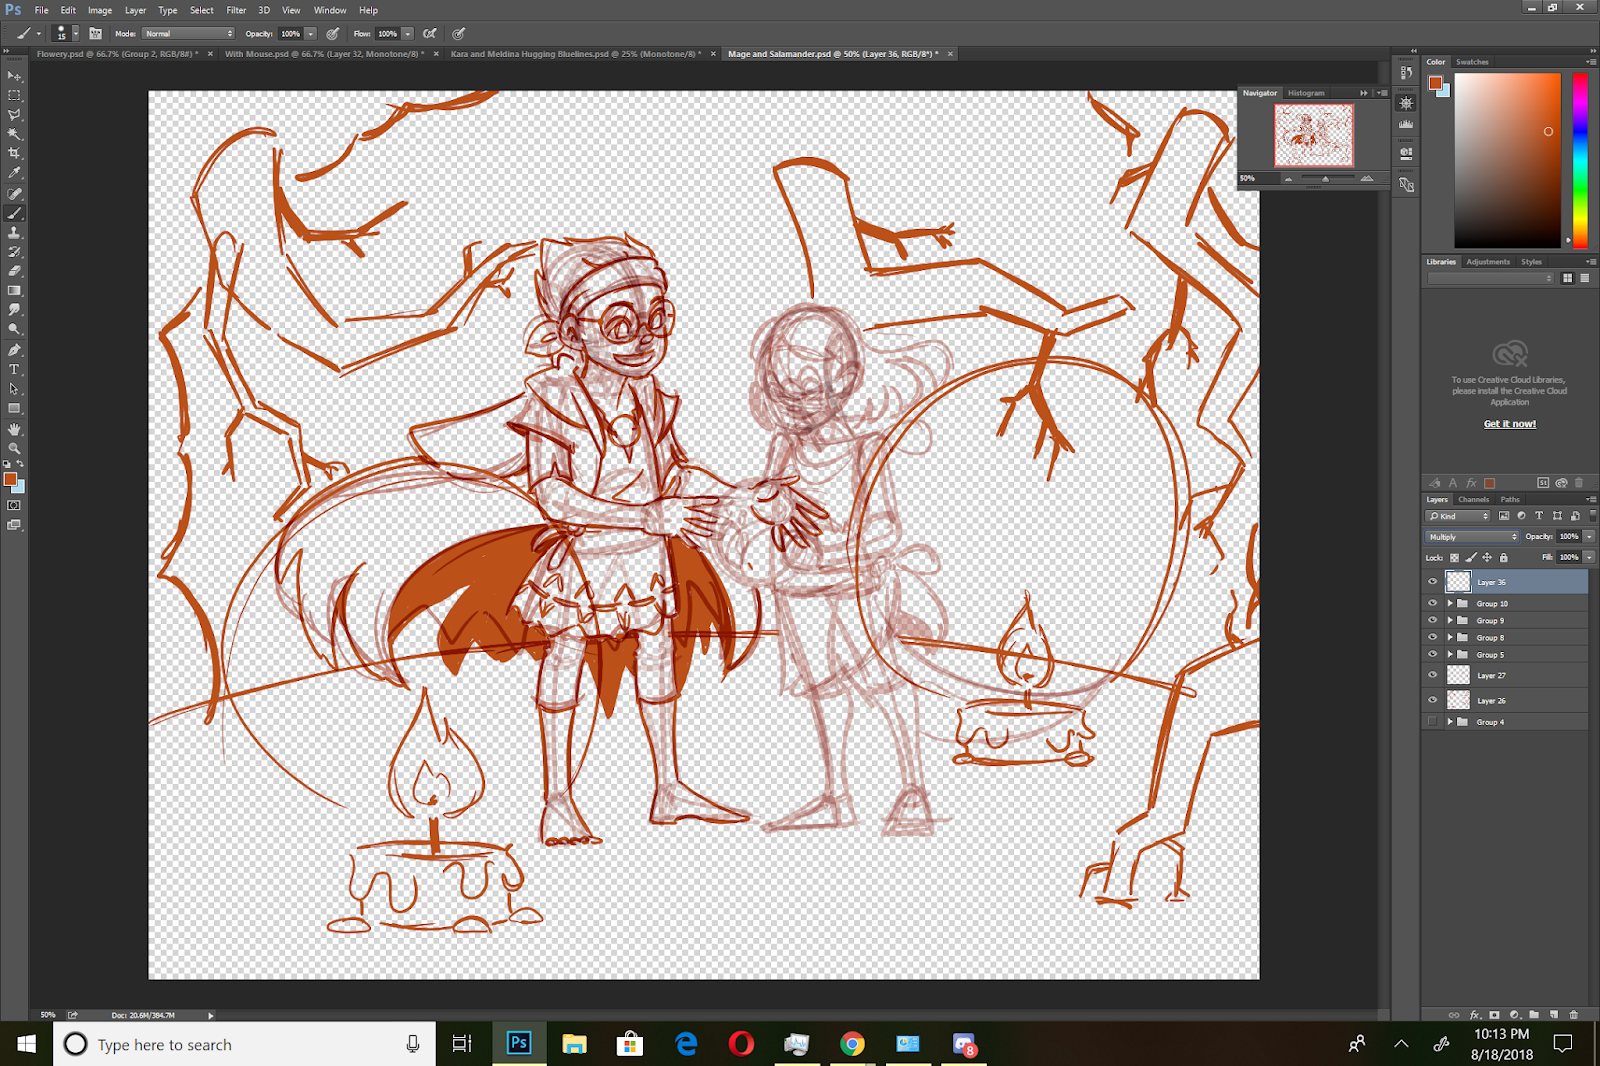
Clothing The Figures:

Once the figures are constructed, I begin roughing in their clothes. These were previously designed, so all I have to do is reference my sketches, and add momentum and movement. The sphere (a marble) that the newt familiar is holding casts a glow and an aura that affects lighting, hair, and clothing.
Constructing Hair and Faces:

Once I have the basics sketched in, I can start constructing the hair and faces. When I design illustrations, I always begin with the largest, most gestural things (pose, environment), and work progressively tighter, more detailed, and smaller (hair, clothing details, faces). This helps prevent me from getting bogged down, or putting time into a composition or illustration that doesn't work.

I divide the sphere for the head in half vertically and horizontally, and place three eye widths along the horizontal axis, starting with the 'middle' eye. Halfway between the eyes and the bottom of the face, I place a small oval to represent the nose. Halfway between the nose and the bottom of the face, I sketch in a short hashmark to mark where the mouth will go.
Refining the Background:

Determining Lighting:
For this illustration, I have three light sources- the two candles (foreground and background) and the marble that serves as a crystal ball (middleground). Since this will be an inked illustration, I want to utilize textures and heavy spot blacks to help carry the illustration.
I use the lighting to help determine how I will ink both figures later on.

The Final Sketch:
The Final Inks

- Don't work too tight or too detailed-often those fine details get lost when the piece is sized and shared to the web, or printed out. These details can also turn to mud when you print your bluelines onto toothed papers.
- Sketch out what you need, it's ok to leave fine details for later.
- Don't black in large areas, especially if you plan on printing bluelines. It's ok to just mark it with an X.
More Information about Constructive Human Anatomy:
Nattosoup's Figure Drawing Resources- Includes tutorials and resources for figure drawing, character design, and figure construction, and facial construction.


Comments
Post a Comment