A Pinch of Salt- Simple Salt Tutorial
Sometimes it's fun to keep my watercolor illustrations deceptively simple, and just rely on a few fun techniques! Everyone loves texture, and today's walk-through delivers- salt, drybrush, and splatter add loads of texture to this cute little piece.
Materials Used:
Salt
Professional Grade Watercolors (your choice)
Inked Illustration (I recommend inking with Sakura Pigma/Sakura Microns)
Mounting Surface (I used Gatorboard/ corrugated plastic)
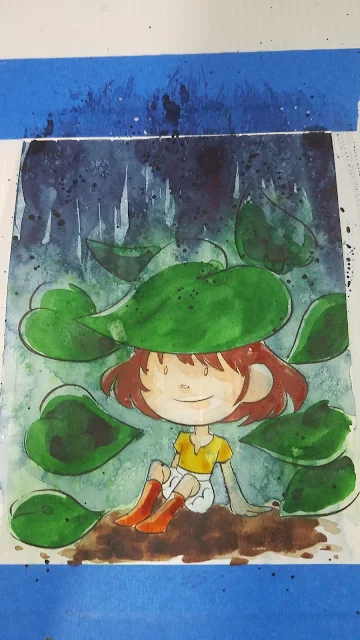
After you've mounted your illustration to your mounting surface (for a piece this small, I really only needed a couple pieces of tape to do so), apply your wash. While your wash is still damp, sprinkle some salt onto your surface (I'm using kosher salt, as it has larger surface area, and creates a more dramatic effect)
Once that has dried, splatter some paint onto your illustration.
Then begin blocking in your foliage.
To create the illusion of rain, streak on some indigo
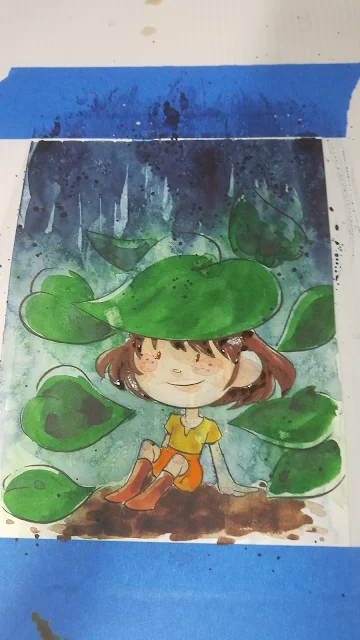
Allow this to dry. Begin blocking in your character color.
Once this has dried, splatter on some white gouache.
Remove your tape.
These simple techniques really pack a punch, so I recommend limiting your techniques, or keeping your piece simple and light for best results!
If you're looking for more watercolor tips, tricks, and tutorials, check out my Watercolor Basics hubpage! I've got the tutorials you need to get started with watercolor, or to take your watercolor to the next level.
If you love what I do, and you want to help me continue doing it, consider joining my Artnerd community over at Patreon!


Comments
Post a Comment