Masking Techniques for Copic Markers
Masking is a traditional media technique that can help take your Copic marker coloring to the next level. Whether you're a stamper, an art journal-er, or an illustrator, masking is a great and fairly simple technique that allows you to reserve areas from large scale effects like airbrush or mists.

In the above illustration, I masked Kara, the main character from my watercolor webcomic, 7" Kara, off from the background before applying spray alcohol inks to create a gradient background.
You can also help fund future alcohol marker posts by joining my Patreon community.

Don't feel like committing, but still want to help? Tip me via Ko-Fi!
For today's overview, I'm approaching each demonstration in a methodical way- apply the masking method, spray with alcohol inks, allow inks to dry, go over with alcohol markers, remove mask, observe. Backers received the video demonstration covered today in early August.
Masking Tape or Washi Tape
Materials
Masking Tape
Washi Tape
Sticky notes/Sticky Note Tape


Top to bottom:
Masking Tape
Post It Tape
Washi Tape


As you guys can see, the alcohol ink has seeped through the Post It note tape, and seeps under the torn edges of all three tapes. You might think layering tape to make a larger area wouldn't have seepage issues, but the overlap provides an area for ink to pool and soak through. Allowing the alcohol to evaporate between sprays will help prevent pooling, but will not help prevent paper absorbing ink and bleed through.
The masking tape and washi tape are most successful in this demonstration due to their waxy coatings.
Pros:
Household materials, easy to find
Very low cost
Can cover large areas
Non-destructive to most papers
Easy to apply
Easy to remove
Cons:
Paper tapes like masking and Post It can absorb alcohol inks and cause seepage
Overlapping tapes can also present an opportunity for seepage
Note: Can also use Scotch tape, but packing tape is strongly discouraged
Paper Masks- Tracing Paper
Materials:
Tracing Paper
Tape- washi, masking, or Scotch


Rather than using tape, removable adhesive can also be used.


While there was a little seepage, I was still able to cleanly mask large areas of paper without destroying the paper surface or leaving adhesive on the paper.
Pros:
Inexpensive
Unlikely to cause damage
Easy to apply
Easy to remove
Cons:
Heavy applications of damp media can cause seepage
Heavy applications of liquid can cause tracing paper to ripple
Masking Fluid
Materials:
Masking Fluid- I recommend Winsor and Newton Masking Fluid
Brush Soap- I'm using Old Masters here, but you could honestly use any bar soap that doesn't contain lotion
Cup of water
Synthetic Brush


Inks were allowed to dry fully before markers were used.


A masking liquid eraser was used to help pick up masking fluid. Masking fluid can be removed by hand.


Pros:
Very clean mask
Can be very effective for masking small areas
Can be used for negative space splatter effects
Cons:
Heavy applications of masking fluid can react poorly with alcohol inks
Seepage can be an issue
Smearing can be an issue
Specialty materials you may not have on hand
Not all masking fluids react uniformly
Masking liquid takes awhile to dry
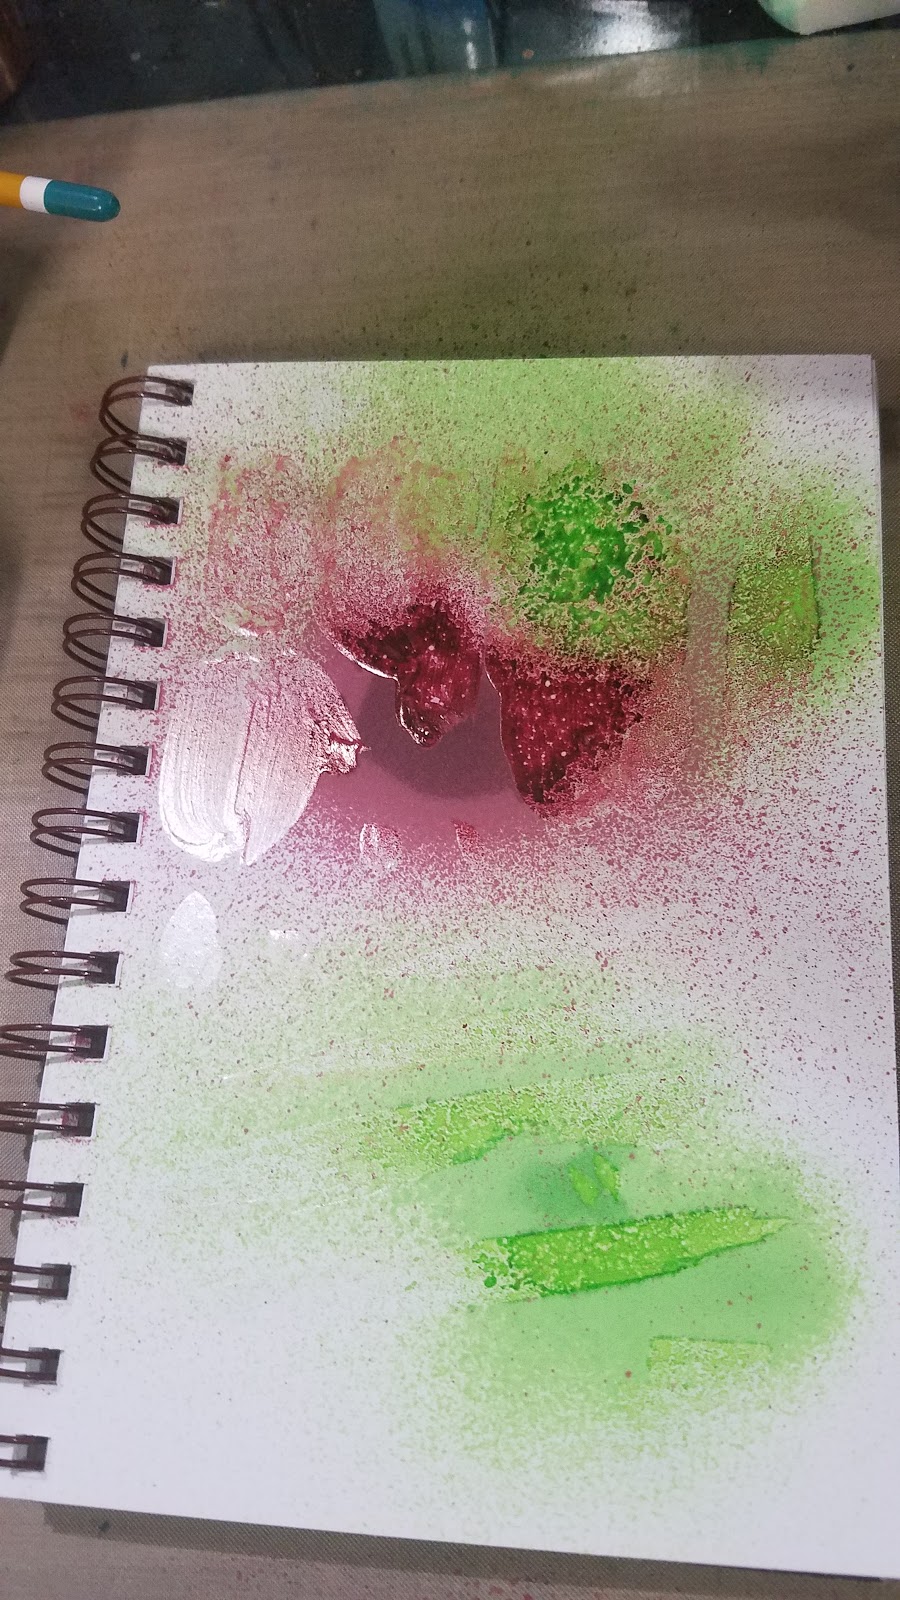
Let's Find Out! Masking Fluid and Alcohol Markers
Masking Frisket
Materials:
Masking Frisket (I use Grafix)
XActo blade or Scissors
Permanent Marker
Rubbing Alcohol
In Practice:


Masking frisket can present several challenges. If you're masking a specific area, you can use a light table to trace your image onto your frisket using a permanent marker. After cutting your masked area out, use rubbing alcohol to remove the permanent marker- if you don't, the permanent marker will reactivate as soon as alcohol inks are used, and will ruin your color.
The next challenge is peeling the waxed paper off the adhesive frisket. While this might seem minimal, if you're trying to work quickly or accurately, this can be fairly difficult. Even with the protective backing on, frisket is flimsy, but without the backing, it's very prone to static cling.
I find when working with large, complicated cuts of frisket, it's easiest to peel back the most complicated part of the frisket from the backing, trim the backing in that area, and apply to the illustration.
If you're interested in learning how to use masking frisket regularly in your alcohol marker illustrations, keep an eye out for a post containing numerous tutorials in the next two weeks.


Note that I've overlapped some pieces of frisket, and also allowed some pieces to go down wrinkled. Given how flimsy frisket is, wrinkling will occur at some point.


Note the seepage where two pieces of frisket were layered.

Pros:
Clean mask
Can mask larger areas easily
Plays well with alcohol inks
Cons:
Can be fiddly to work with
Adhesive can leave a residue if it stays on too long or gets wet
Can be difficult to remove
Can cause seepage
Materials you may not have on hand
Mixed Methods- Masking Fluid+ Tracing Paper, Masking Fluid+ Masking Frisket
Materials (Masking Fluid+ Tracing Paper)
Tracing Paper
Tape
Masking Fluid
Synthetic Brush
Brush Soap
Materials (Masking Fluid+Masking Frisket)
Masking Frisket
Rubbing Alcohol
Permanent Marker
XActo Blade or Scissors
Masking Fluid
Synthetic Brush
Brush Soap
Top: Masking Frisket and Masking Liquid
Bottom: Tracing Paper and Masking Liquid
Base material (masking frisket or tracing paper) is applied, then a layer of masking fluid is applied around the perimeter, but not covering the entire surface.


Due to folds in the tracing paper that developed after masking liquid was applied, another layer of masking liquid was applied to better seal the edges.


Both were allowed to dry for at least one hour.

In this instance, only alcohol ink sprays were used- no alcohol markers were used.

A combination of masking liquid eraser and fingers were used to remove these masks.

With the tracing paper sample, some seepage occurred as tracing paper is somewhat porous.


Pros:
Masking fluid can be used to help limit seepage
Might work well for very heavy applications
Cons:
Using masking fluid adds a lot of additional dry time
Some seepage still occurs
When lifting masking fluid, can smear dried alcohol ink onto masked area
As you guys can see, masks for your alcohol inks and alcohol markers can be quite useful. Masks allow you to cover large areas in color, while reserving other areas effectively, and can be made using materials you already have on hand.
I'm working on a masking frisket tutorial megapost, so please look forward to that!


Comments
Post a Comment