Breaking Complex Inks into Manageable Parts
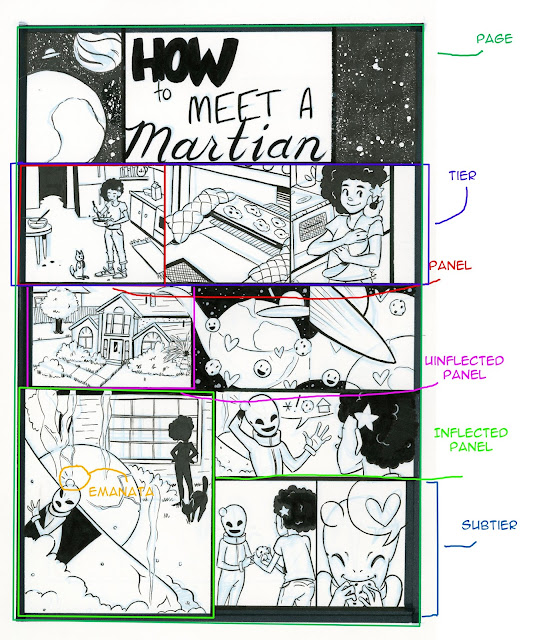
Complicated images are not only difficult to design, but difficult to ink as well. I've found that it helps to work on difficult or complicated designs in sections. I tend to ink from front to back, inking overlapping shapes before the shapes they overlap. In this tutorial, I'm going to break down a complex pencilled lineart into three distinct sections- foreground, middle/character, and background. There's also a bonus tutorial at the end on applying masking frisket.

The image used in this blog tutorial goes on to live another life on the YouTube channel as the basis for an alcohol sprays/alcohol marker tutorial, so keep an eye out for that. If you enjoy tutorials like this, please do me a favor and share a link to this post on your favorite social networks (sharing buttons are conveniently located below every post), and if you would like to help fund future tutorials (as well as gain access to Patreon exclusives) please visit my Patreon for information on how you can join the community.
To begin, you're going to need the lineart you wish to ink, as well as your inking tools and an eraser.
Breaking Complex Inks into Manageable Parts
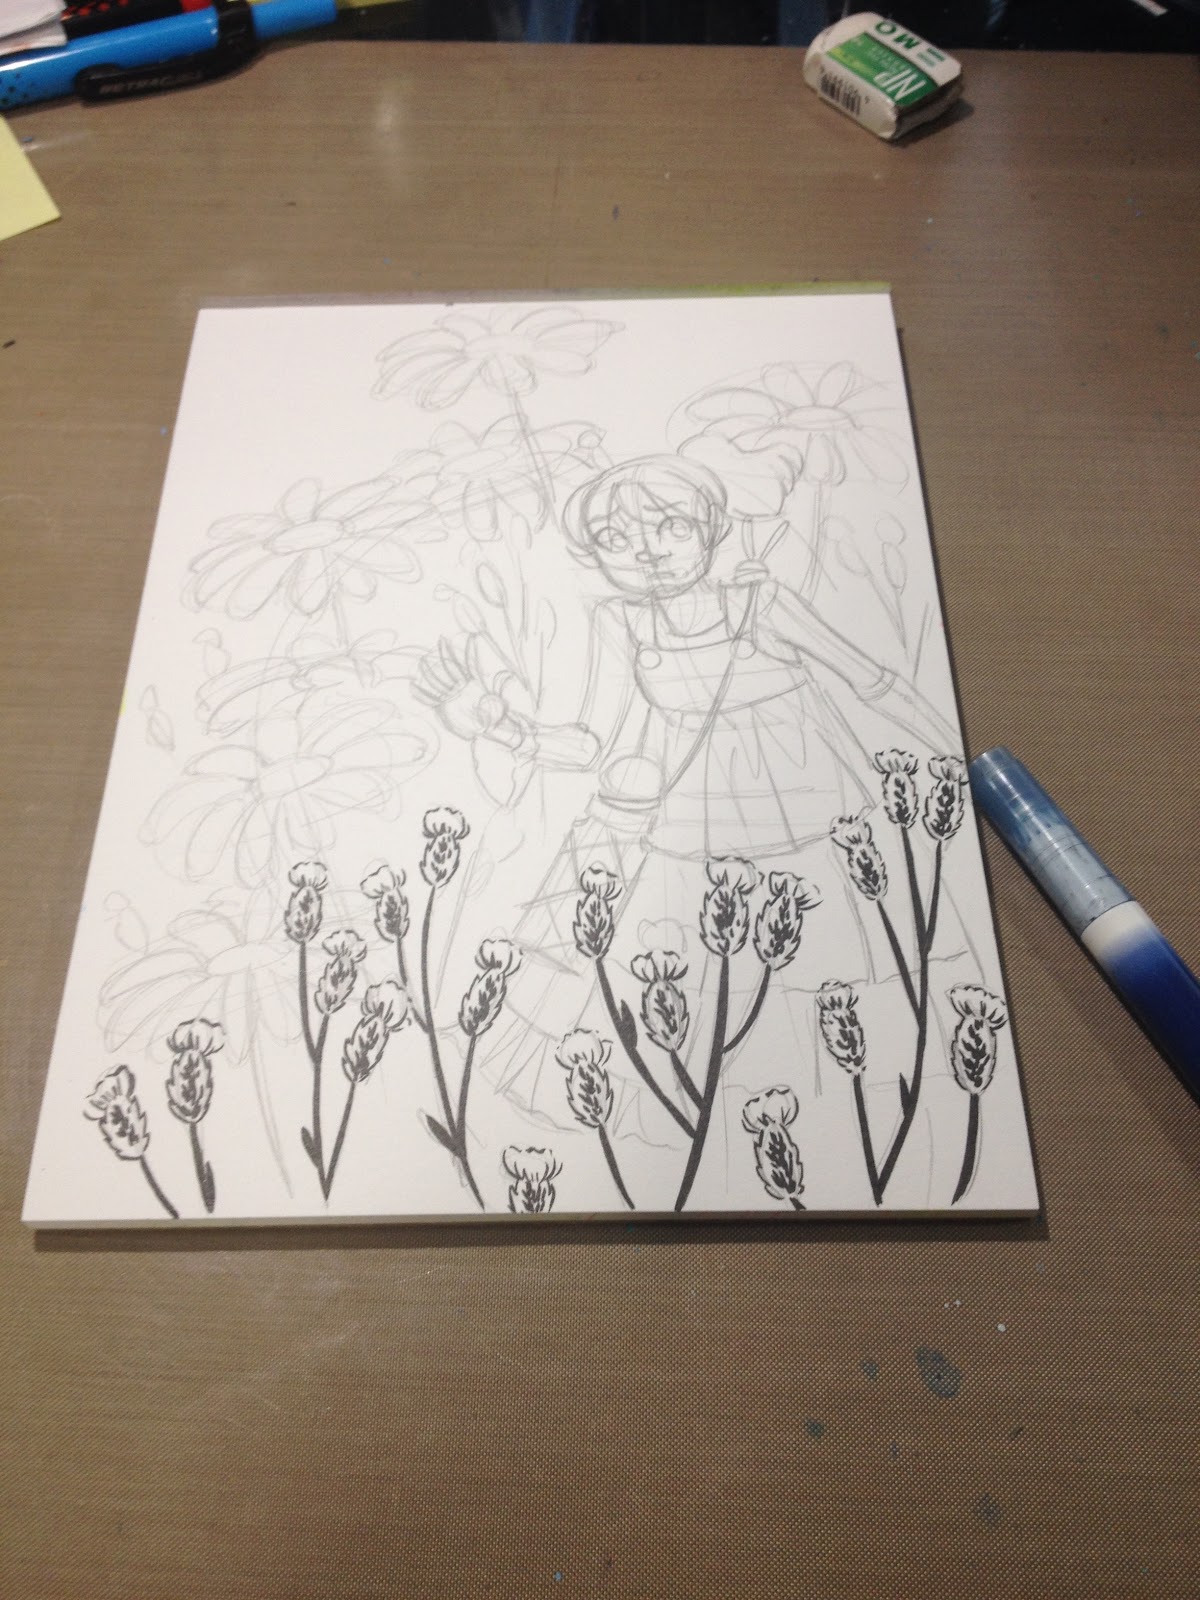
Begin by inking everything closest to the viewer with your heaviest lineweight and largest concentration of spot blacks and detail.
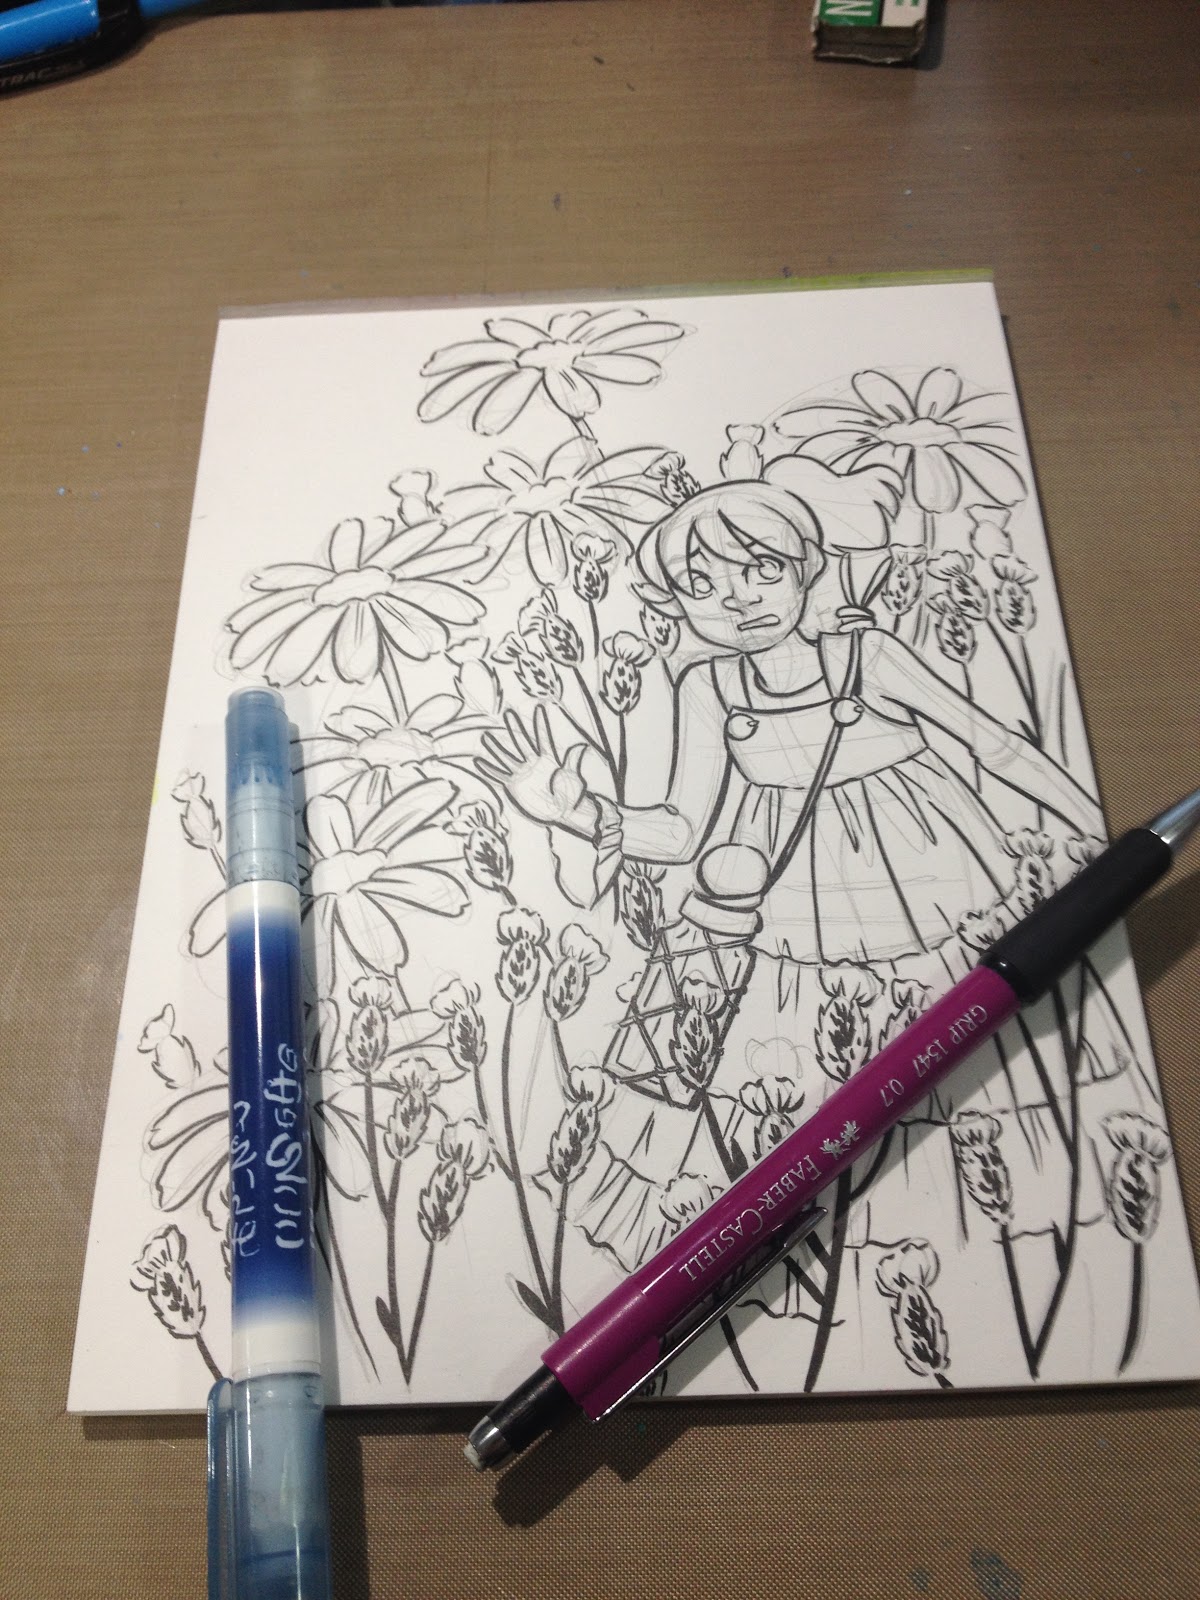
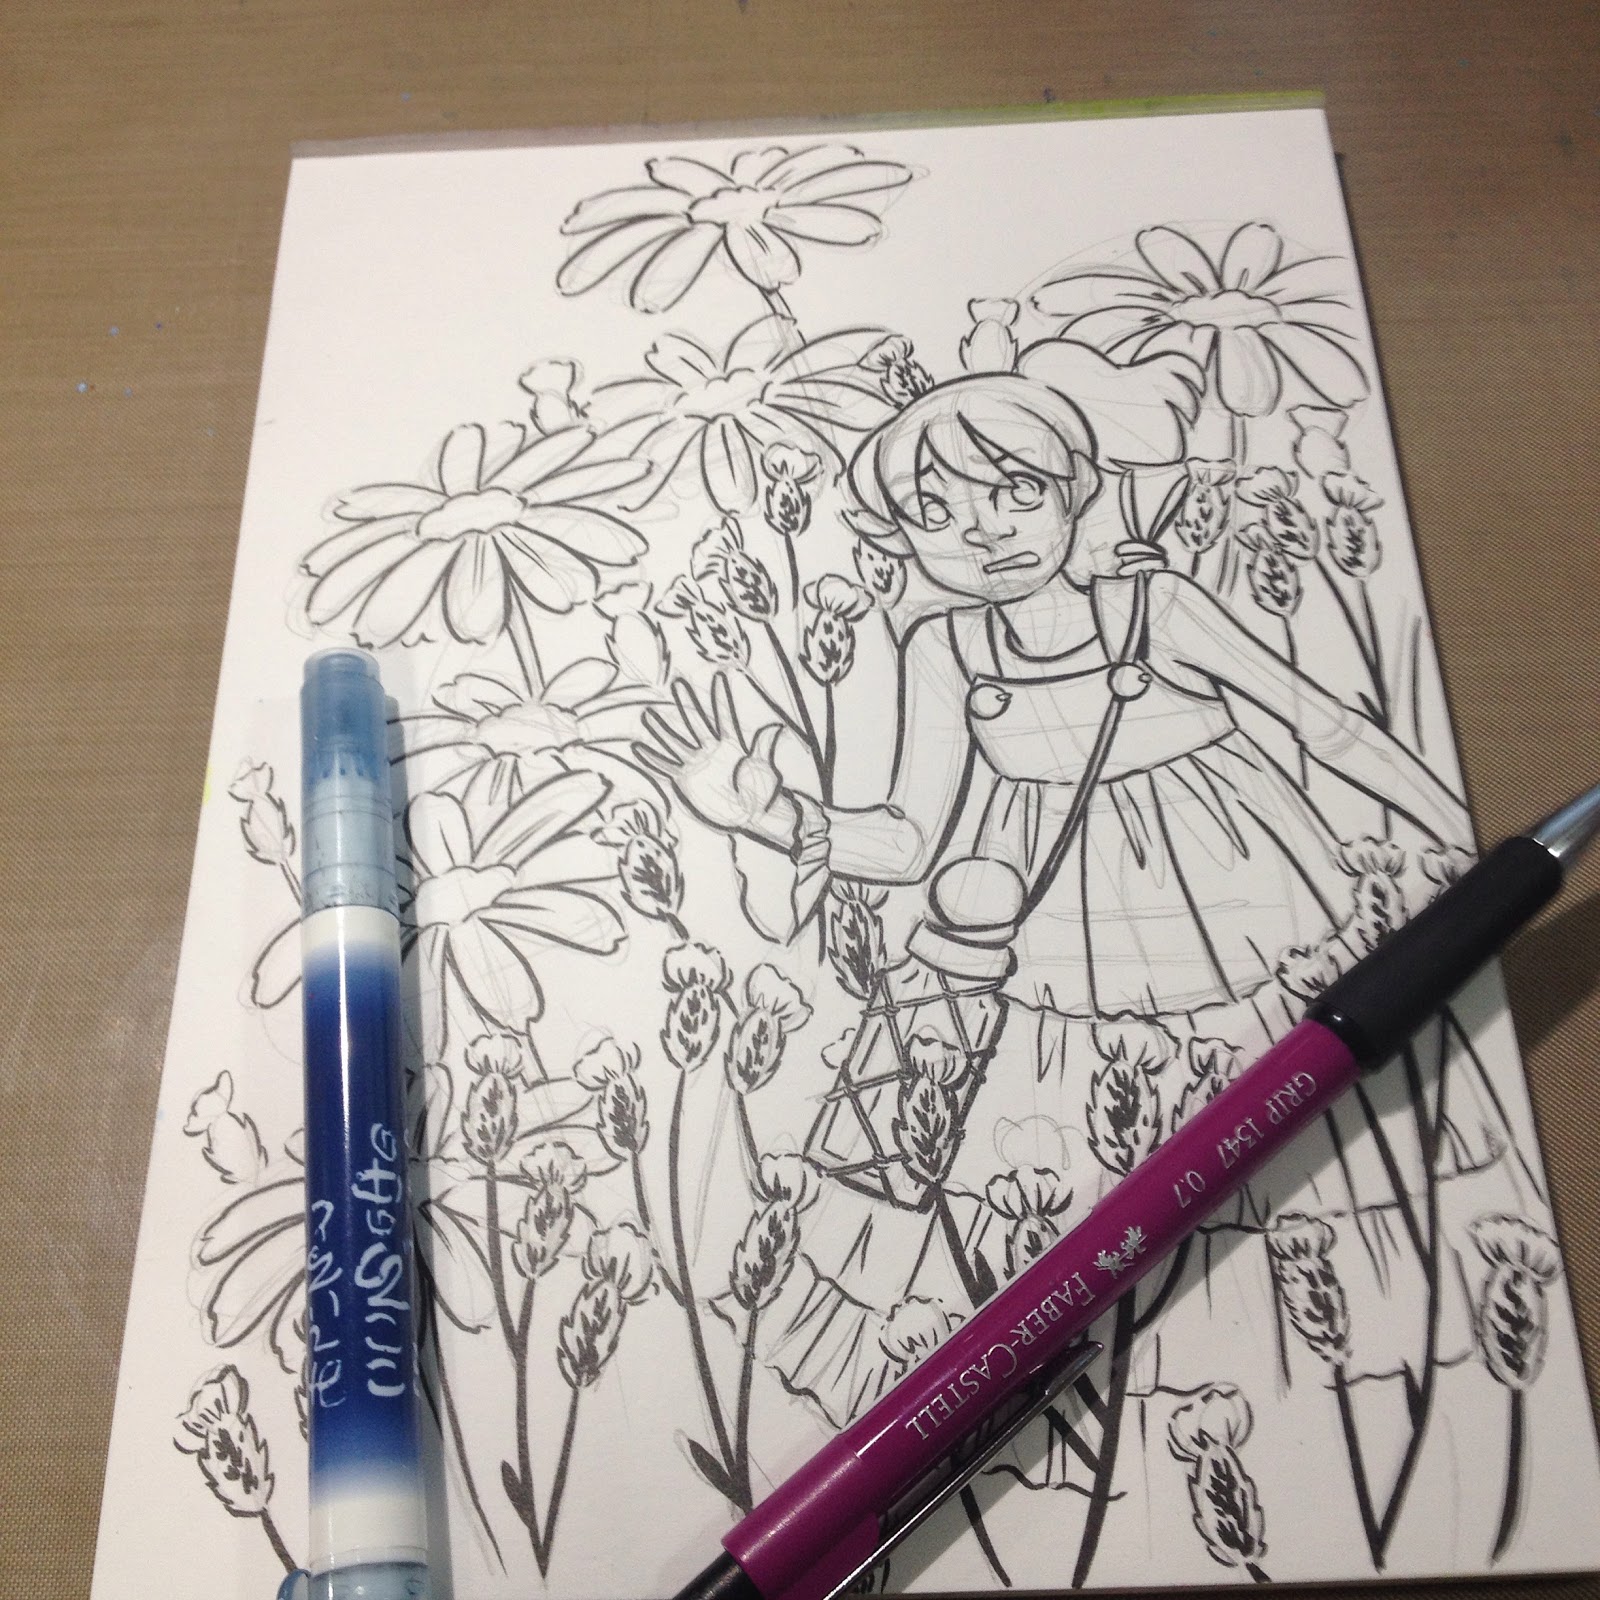
Before your hand gets too tired to handle fine detail properly (or after a break to refresh your hand and stretch), begin inking your characters. When inking characters, I tend to start with the head and work my way down, inking any bangs that overlap the face first. Next I ink the eyes, then nose and mouth, then the outside of the face. The face is the most recognizable part of the human body, and the most important to get right, so I put the most effort into inking the face properly. Small mistakes may slide in the hair or on clothing, but a small mistake on the face can change a character completely.
Once the character has been inked, I move on to inking other mid-ground objects.
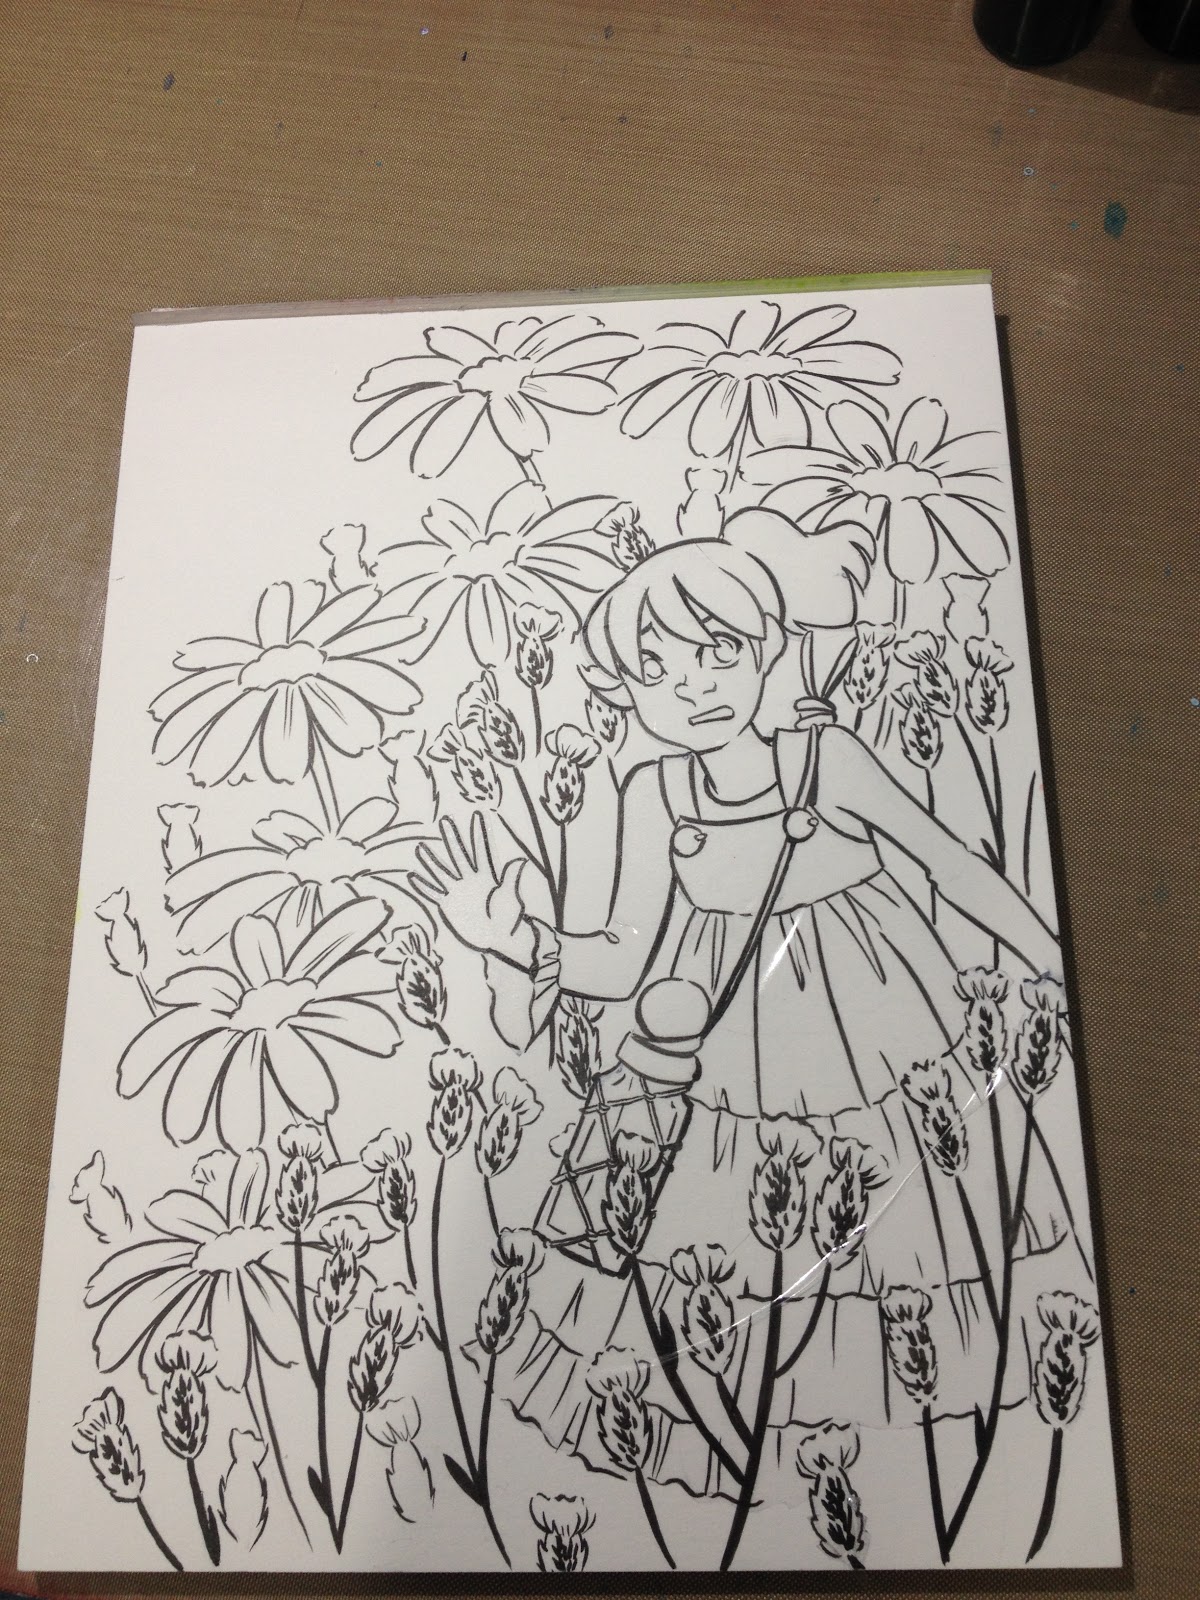
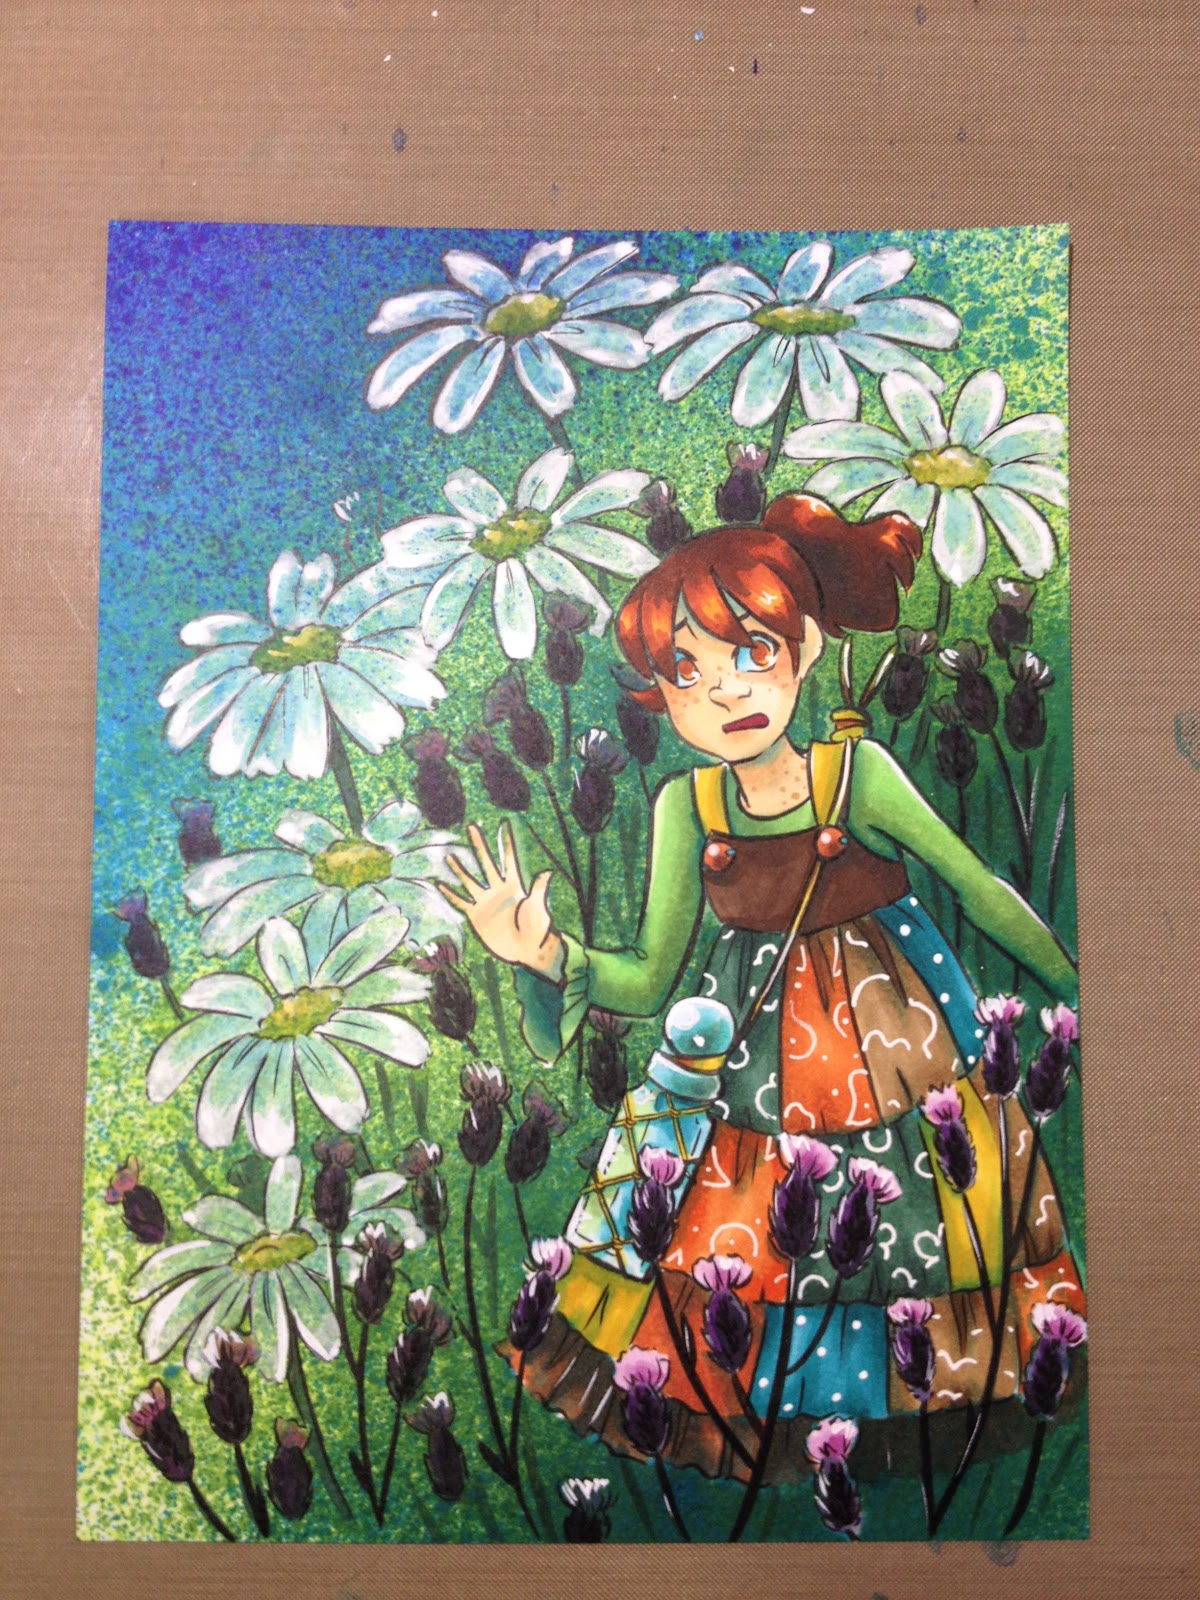
Finally, I begin inking the background, using the lightest linework and the least amount of detail. The intention is to draw the audience through the picture plane, and varying the amount of included detail can help give the appearance of distance.
Once everything has been inked, I allow my piece to cure for 24 hours before erasing. This helps prevent smearing and ghosting.
Bonus: Using Frisket and Spray Inks to Create a Background
Masking frisket can be a helpful tool for masking areas of your marker illustrations. I use Grafix low tack masking frisket. For a live demonstration, check out this tutorial.
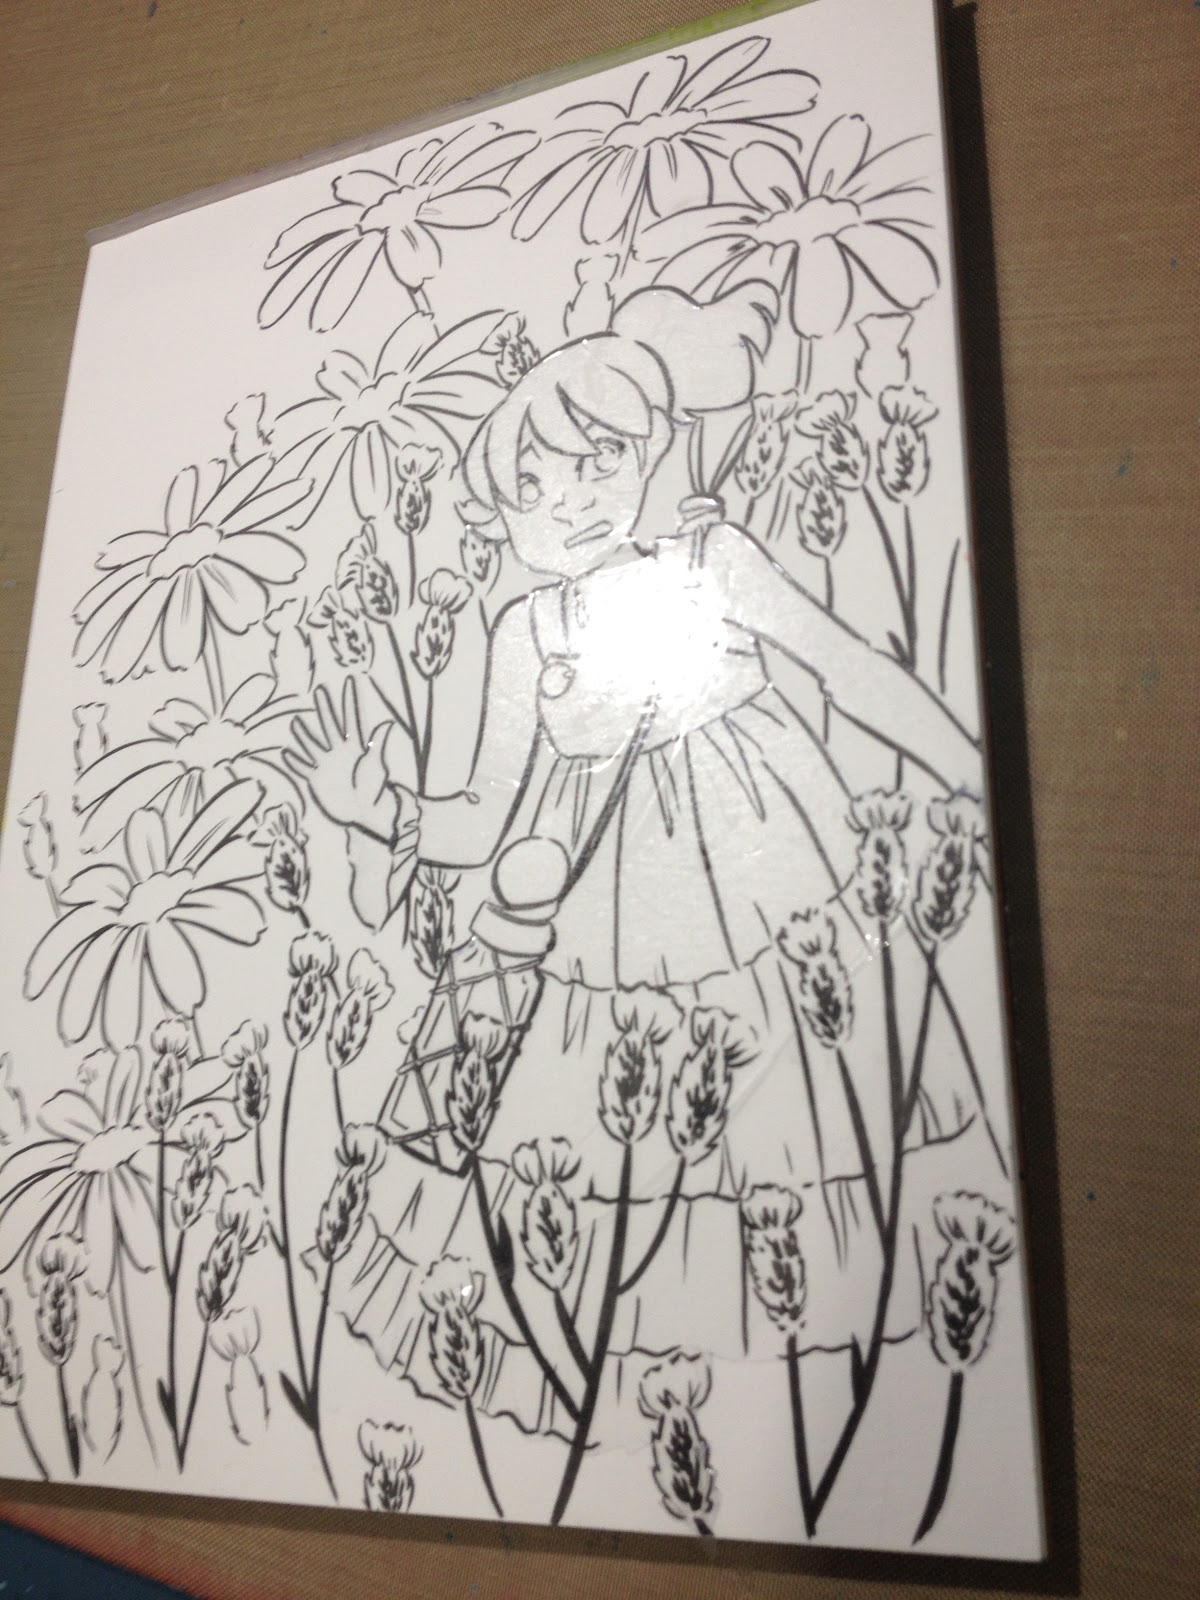
Before cutting my frisket, I use an alcohol based marker (like a Sharpie) to trace the outline of the object I want to mask (in this case, Kara, from my comic, 7" Kara). Once I have traced my outline, I use a small, sharp knife to carefully cut out my shape. Once the shape has been removed from the rest of the frisket, I use an alcohol wipe to remove the Sharpie, as leaving it on will cause smearing once I start applying alcohol inks. Depending on how large the masked area is, I may cut the backing paper to aid in application (see video tutorial linked), and carefully apply my mask over the area.
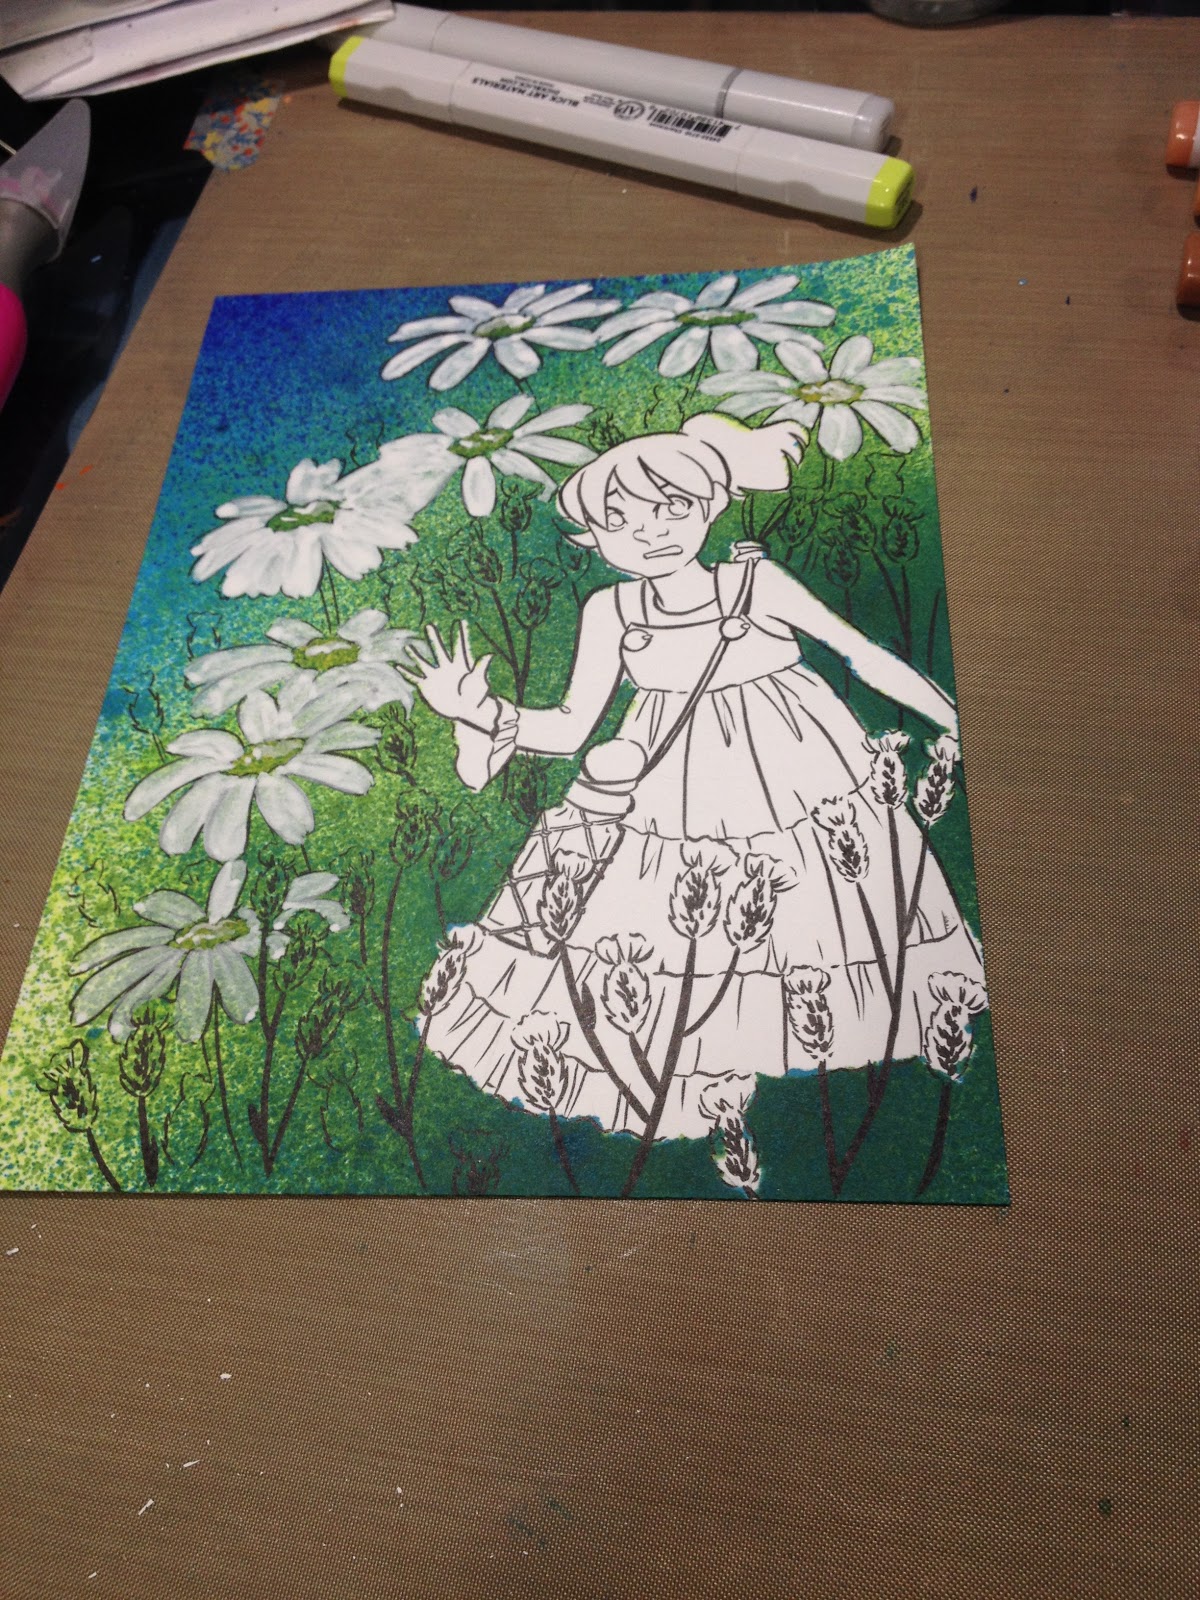
The masking film protected Kara from multiple heavy applications of alcohol sprays.

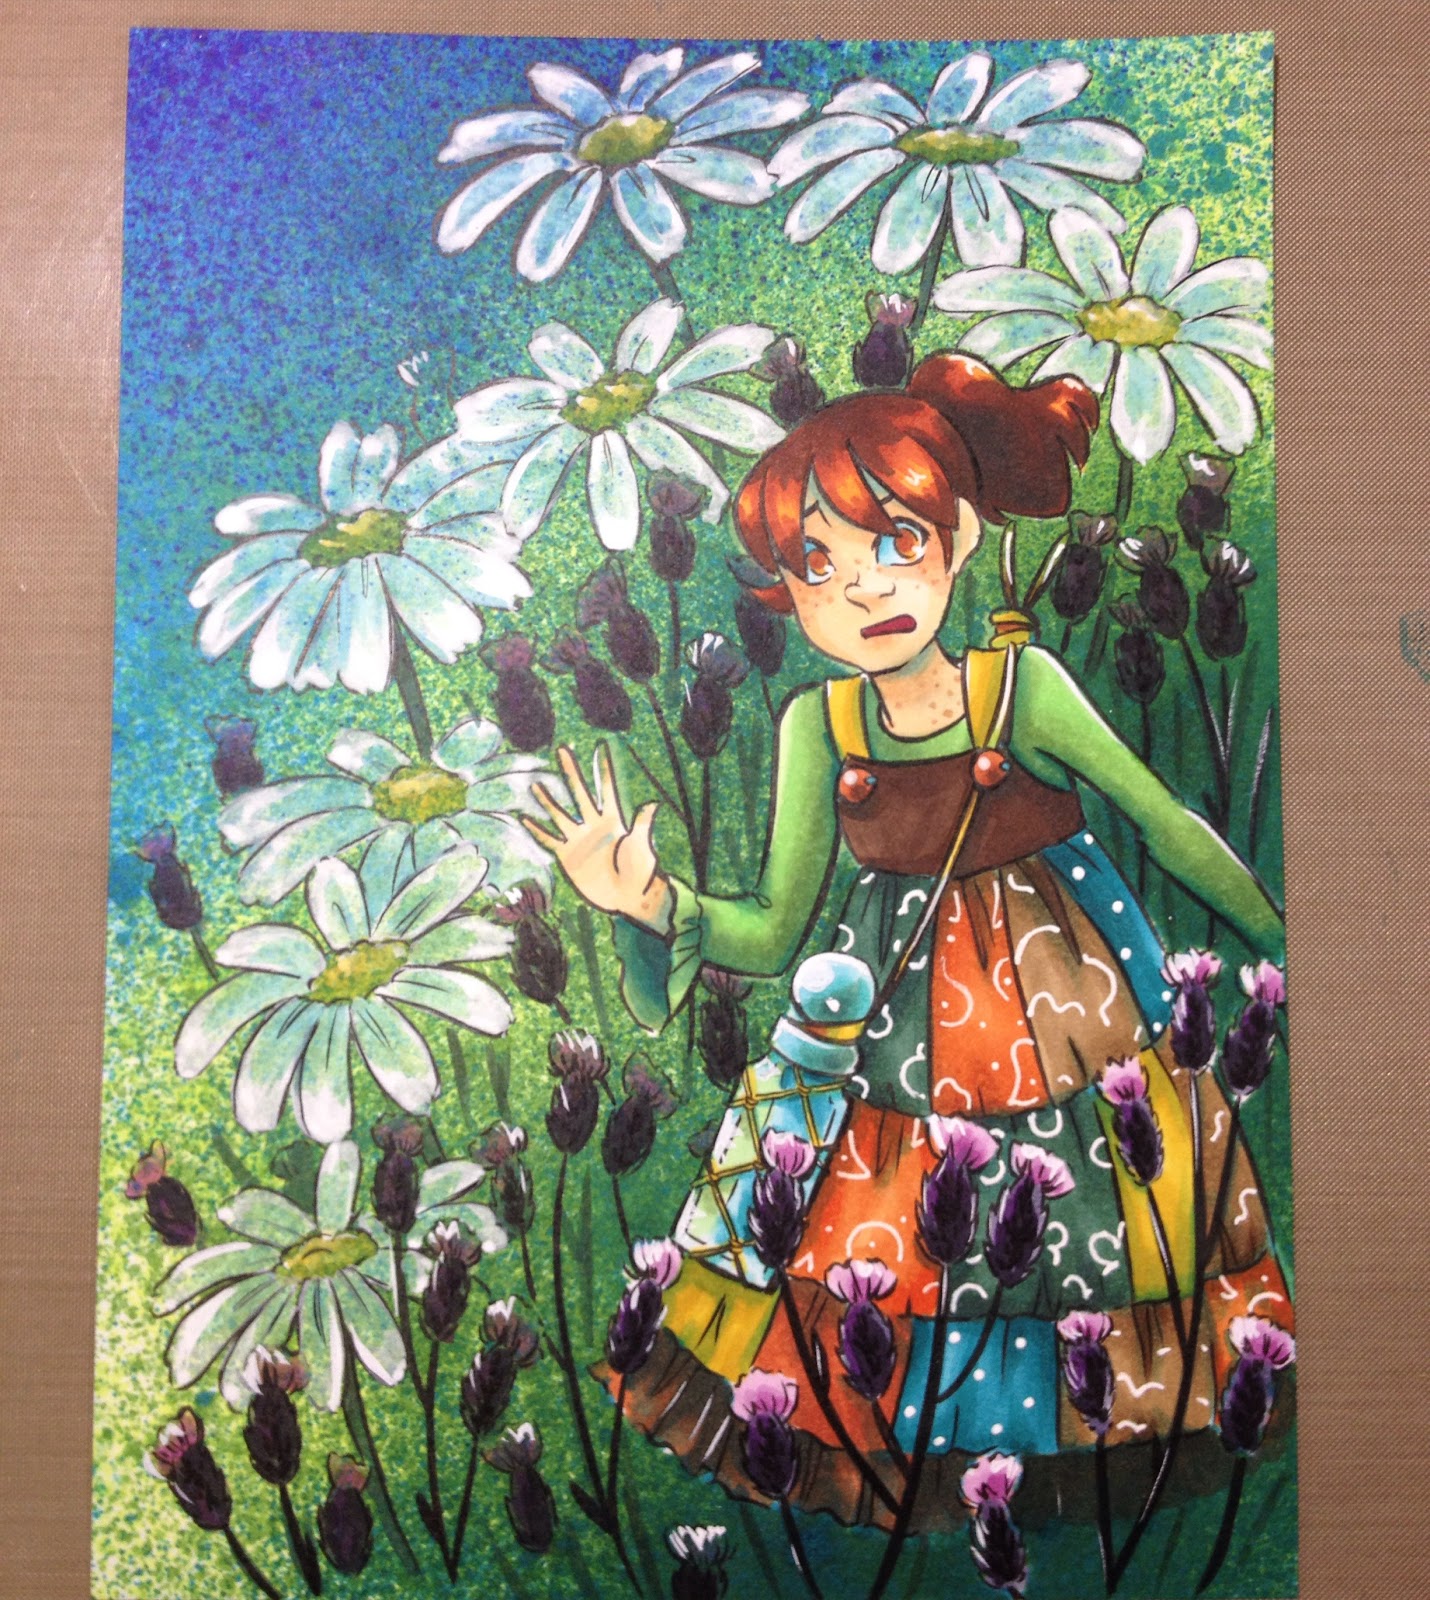
I hope you guys enjoyed this short tutorial, and found it helpful. If you have any questions,please send me an email via the sidebar form, or contact me on Twitter. For more of my art on a daily basis, please make sure to check out my Instagram, and for more tutorials, please stop by the Youtube channel.
Comments
Post a Comment